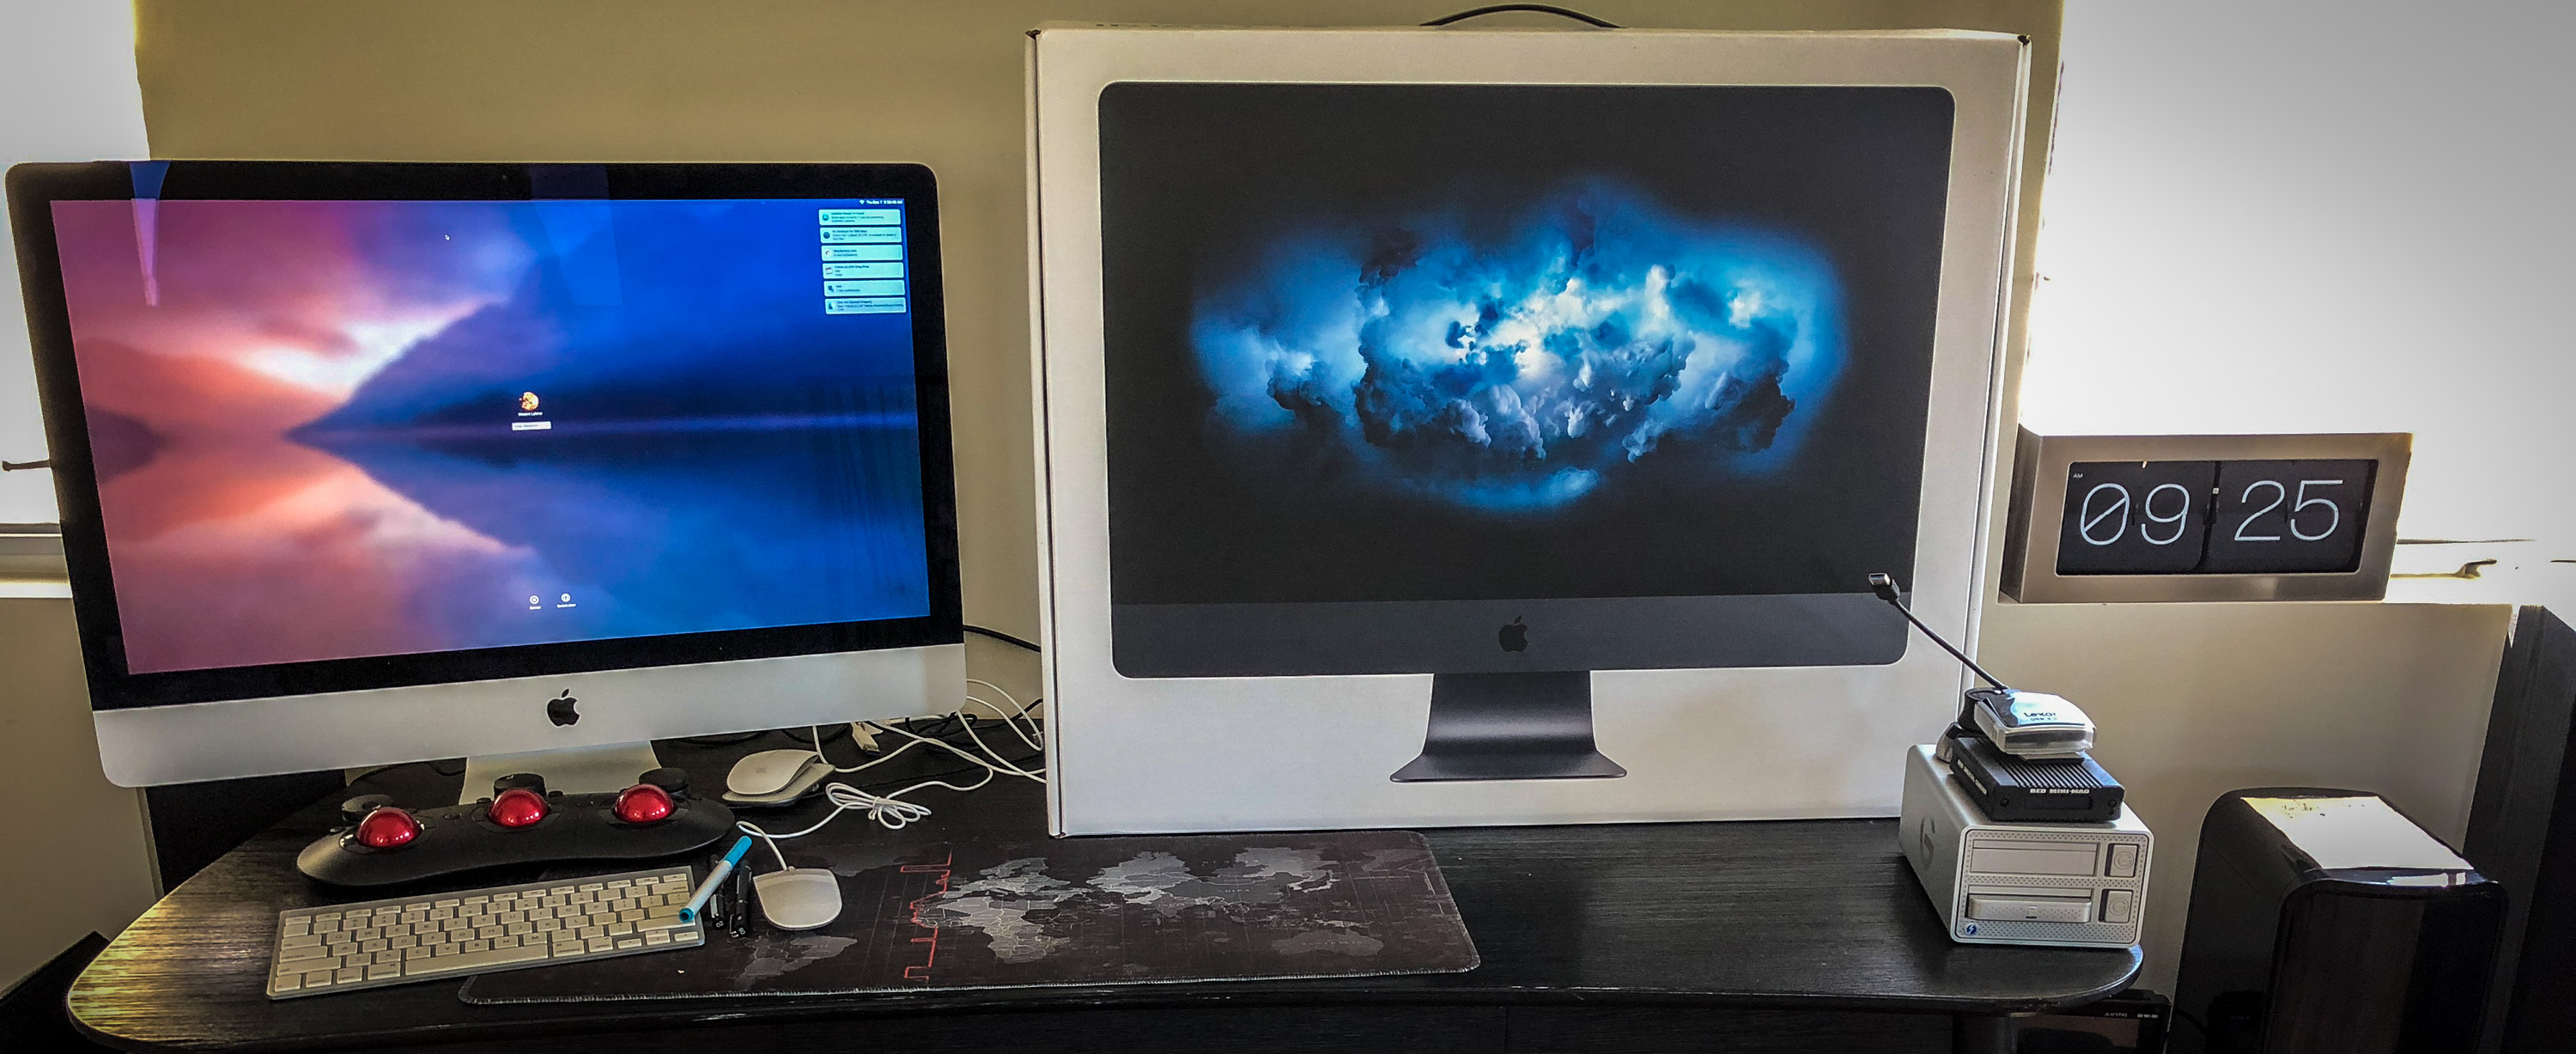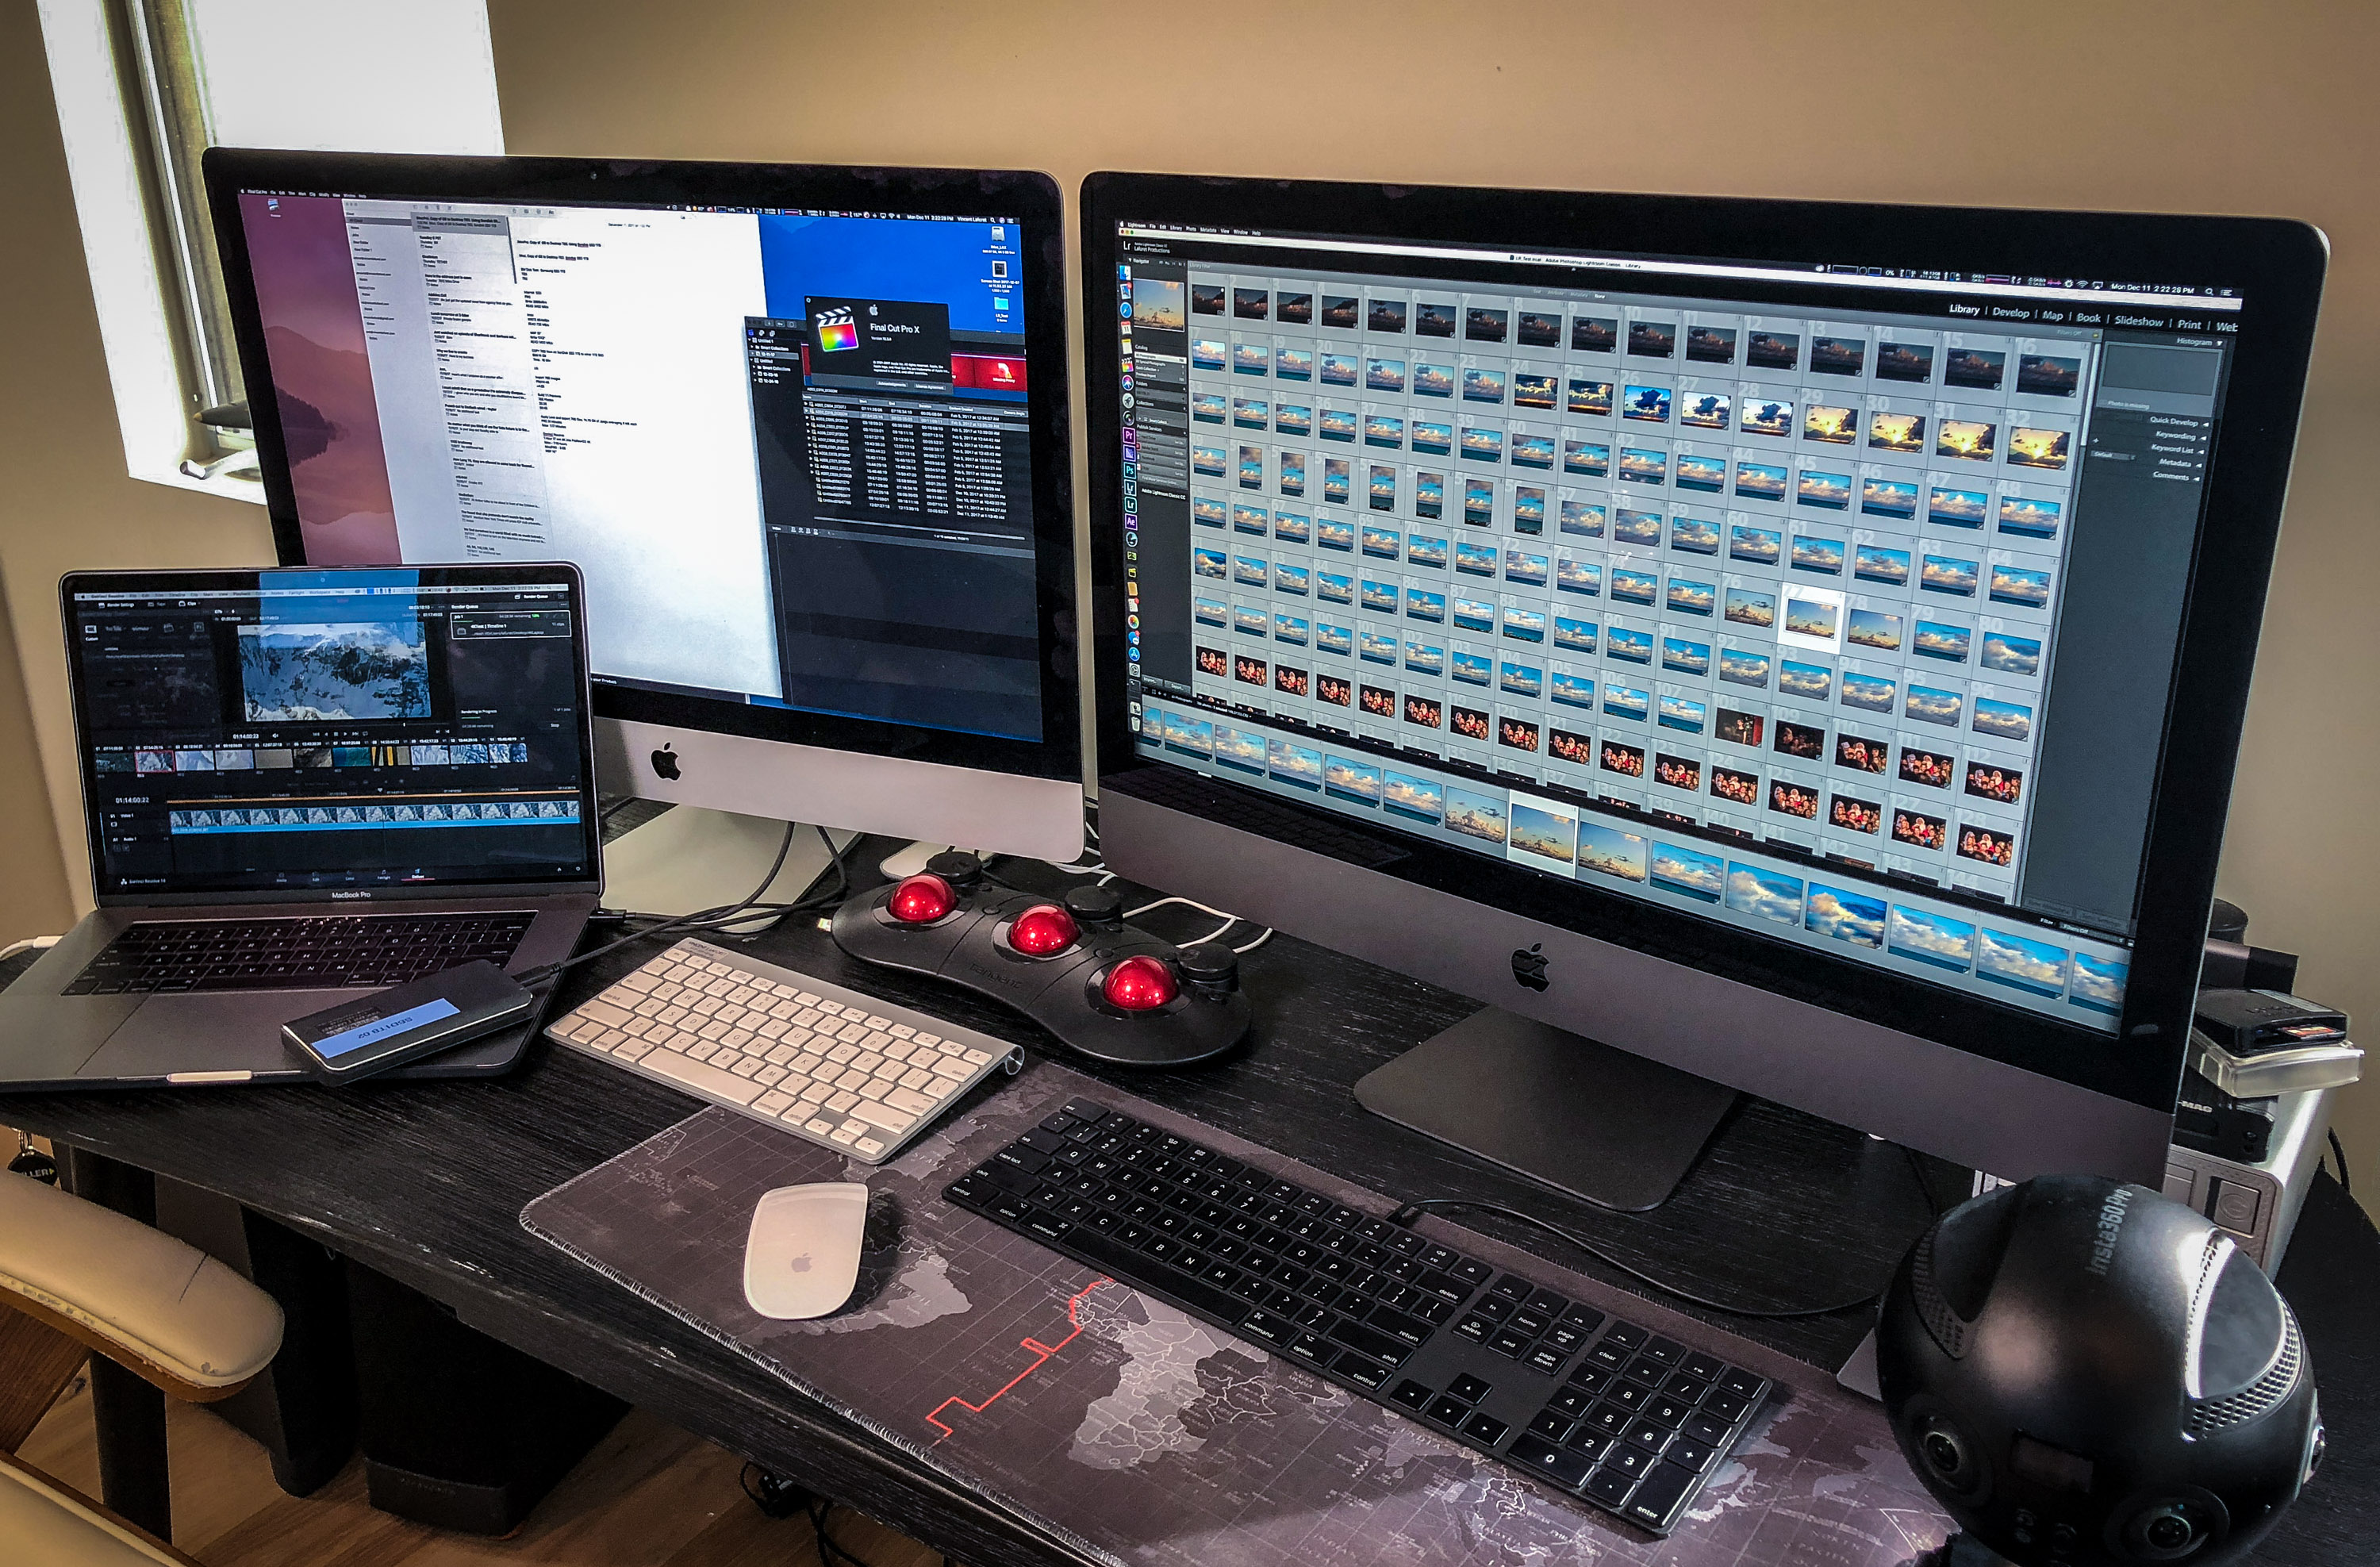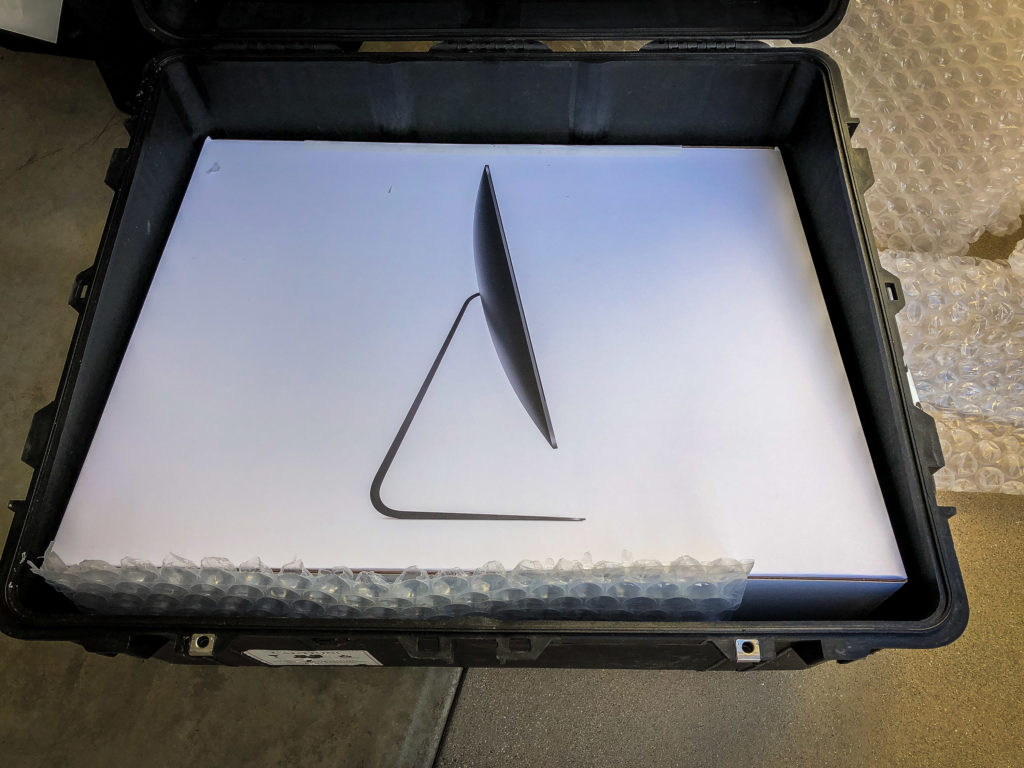
Last week I received a pelican case from Apple with a very special Mac inside of it… It was an iMac Pro configured as a 10 Core 3GHZ Intel Xeon W, 2TB SSD, 128 GB RAM, Vega 64 Radeon.
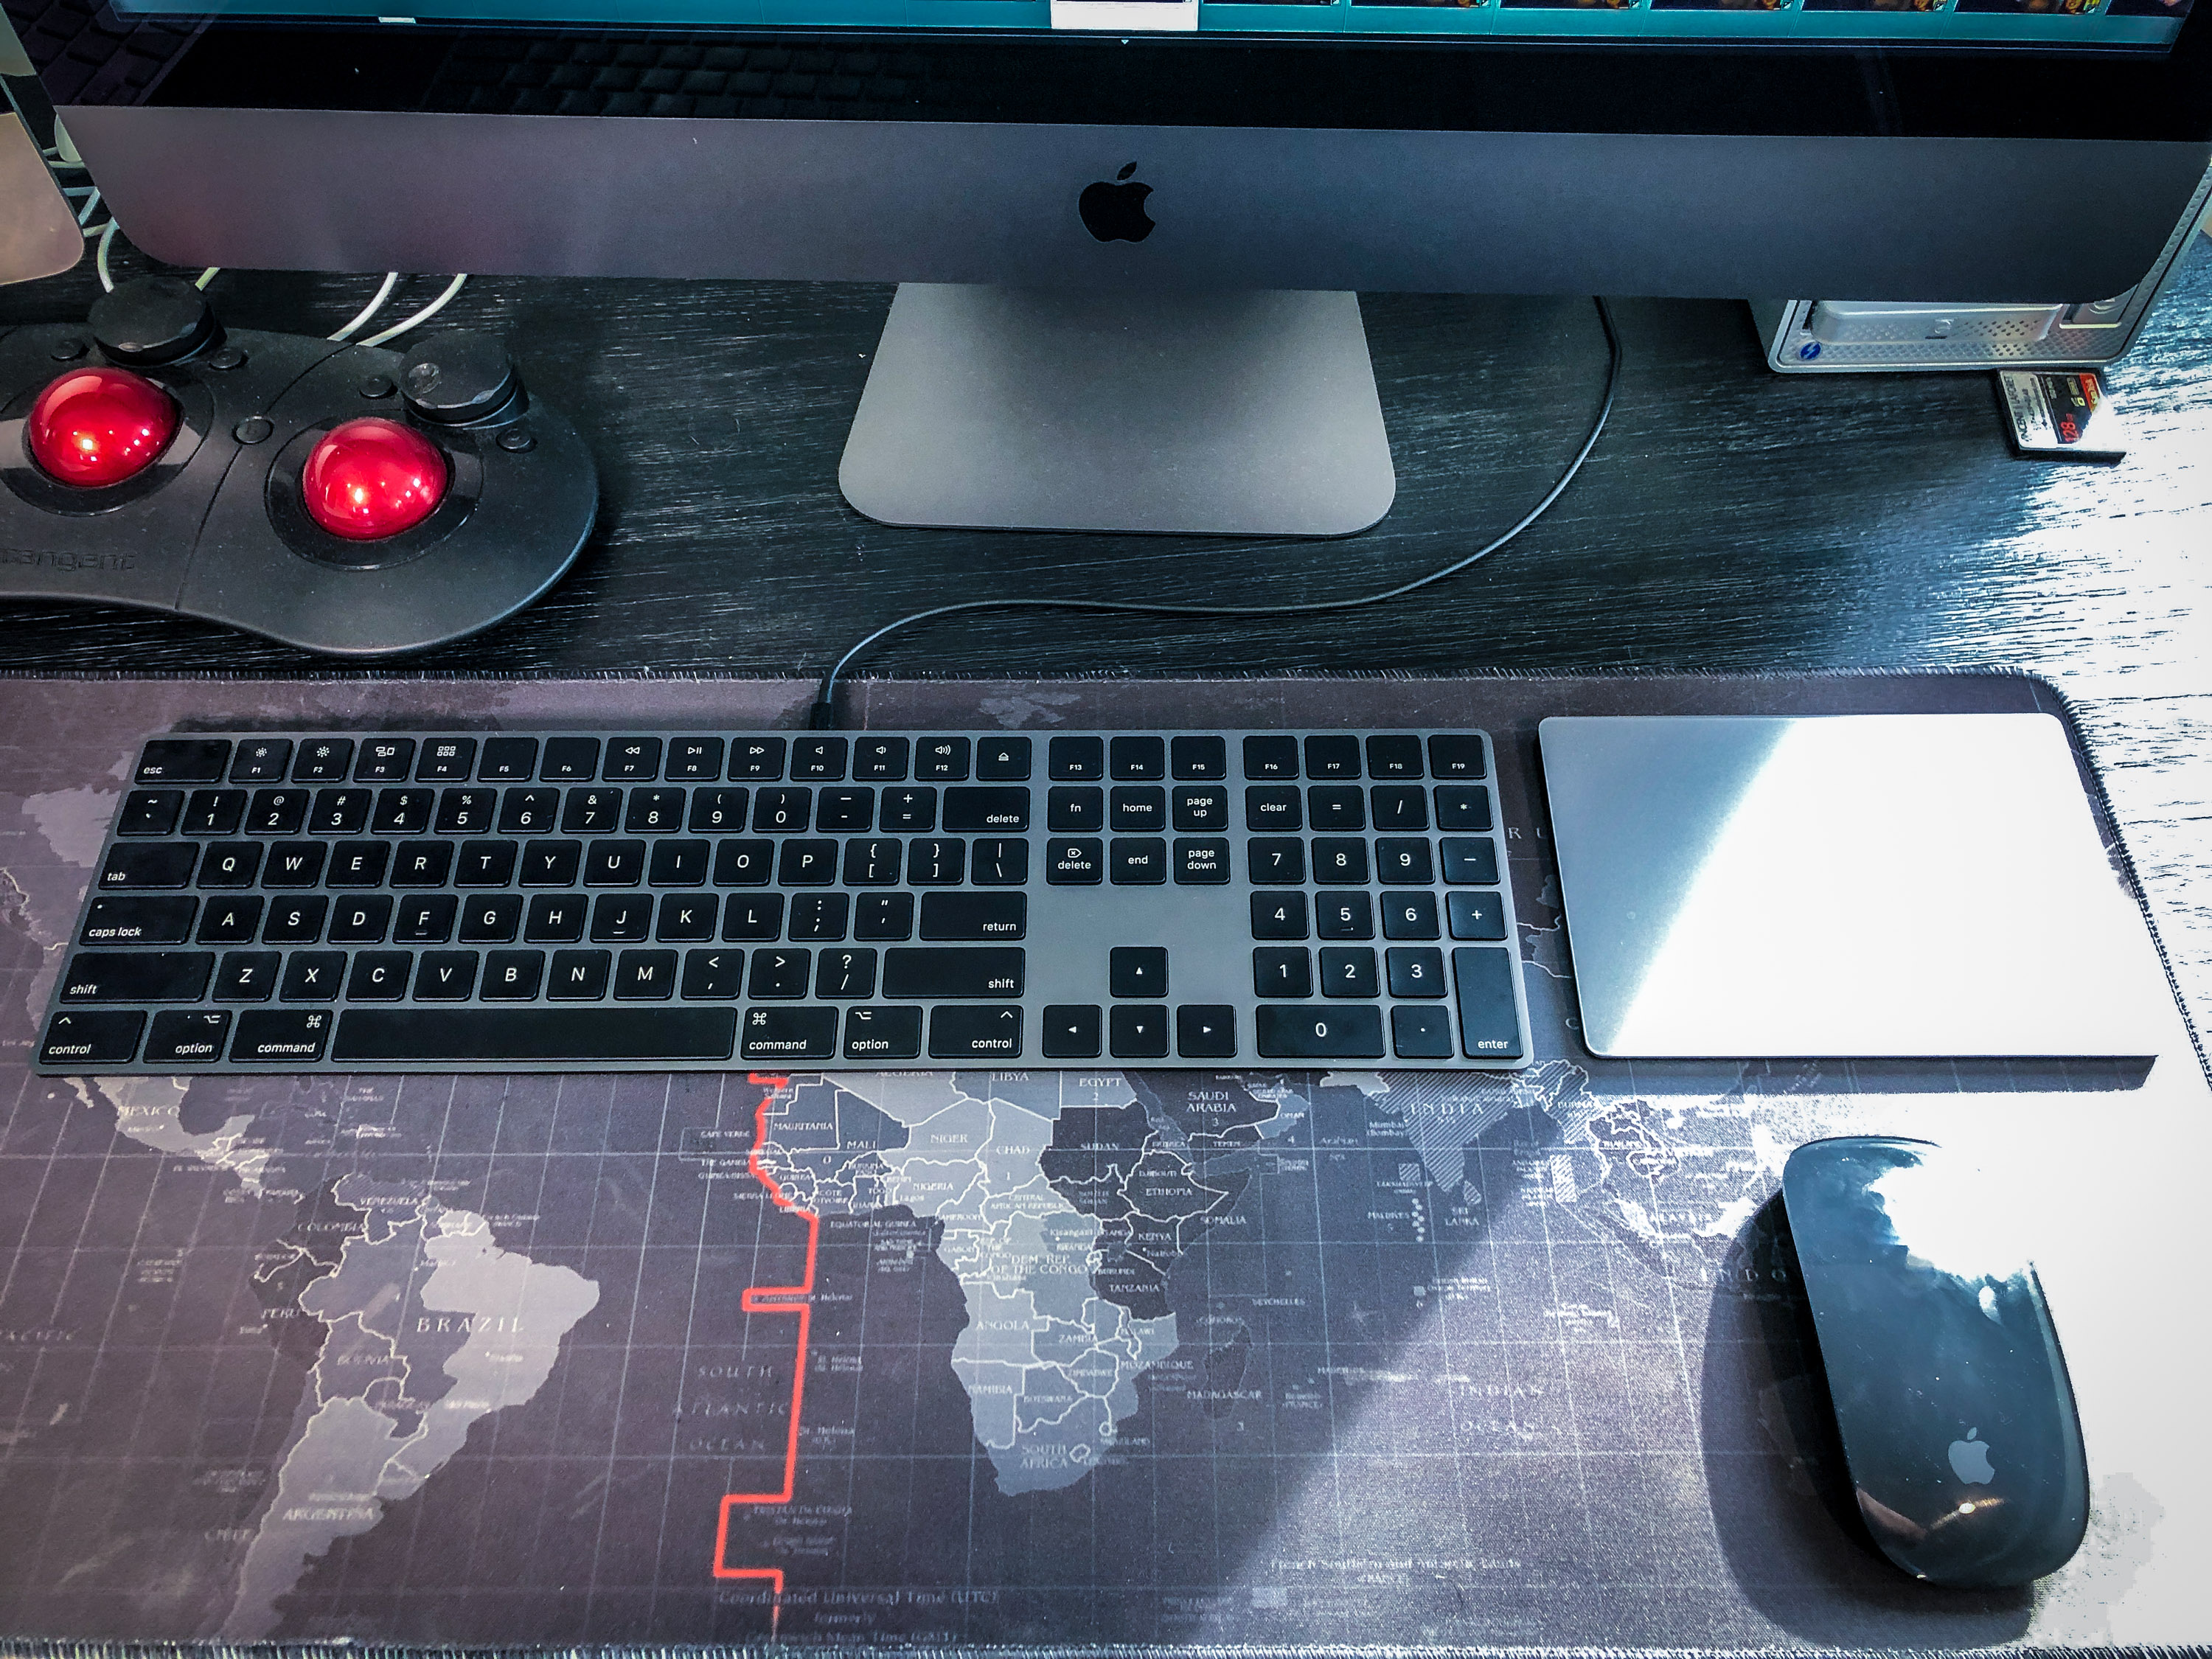
After unpacking the (to be expected) beautiful Space Grey hardware, keyboard, mouse and trackpad, it was time to get down to the brass tacks, I had ONE question that I needed to answer: how fast is this thing, and how much time will it save me in my everyday imaging tasks?
I found a very consistent set of results: a 2X to 3X boost in speed (relative to my current iMac and MacBook Pro 15”) a noticeable leap from most generational jumps that are generally ten times smaller.
Whether you’re editing 8K RED video, H.264 4K Drone footage, 6K 3D VR content or 50 Megapixel RAW stills – you can expect a 200-300% increase in performance in almost every industry leading software with the iMac Pro.
I’ve seldom seen a jump this dramatic before on any new generation of Macs – 20%-30% speed increases are the norm … NOT 200%-300% increases. That’s SIGNIFICANT. (Feel free to jump straight to the test results below if you have a short attention span or are a numbers person..)
Basically, if you’re debating whether or not to purchase the iMac Pro you should ask yourself just one question: how much is your time worth to you? Would you rather be waiting for images and video to render or export, or do you want to go back out and shoot as quickly as possible? For me the answer is easy: when compared to the previous generation iMac or the current top of the line 15” MacBook Pro, the iMacPRO tears through footage and images, allowing me to spend less time behind a computer, and more time shooting.
After just under a week I can tell you that I won’t be using any other mac anytime soon.
I’ll detail the result below for every piece of software that I ran these tests through – because at the end of the day it’s all about the numbers when you’re shooting 1-5 Terabytes per day of 8K RED footage, or shooting 7,000 fifty Megapixel stills on a Canon 5DsR, let alone churning through 8K VR footage or playing back 4K MavicPRO footage. It’s safe to say we’re shooting and processing more an more data than we could ever have imagined just a few years ago – and one’s time behind a computer can be a TRUE pain point.
In short – this is a KILLER machine for any serious photographer, filmmaker, or VR producer. Period.

I can see a lot of people taking advantage of the nearly 3,000 MB/S transfer speeds to the internal SSD, let alone the four Thunderbolt 3 ports to go thru footage much less painfully. In fact most of the drives cannot come close to taking advantage of the transfer speeds – YET. However when you copy multiple media at once to a fast raided drive you’ll quickly see the benefit of this machine. DITs (Techs who copy cards on still or film sets) will love this machine for its portability and speed (and easy to swap base w/ VESA mounts that can transfer back and forth much more easily than the previous generation iMac.)
Several important disclaimers:
- I used the latest MacOS High Sierra 10.13.2 on this an a lot of the software I used has not yet been optimized for the new OS let alone this machine.
- I did not use a MacPRO because I couldn’t get one in time, and because I generally don’t use one because the Thunderbolt 2 ports aren’t fast enough for what I do. I also used my current iMac – an iMac 5K, 4GHZ Intel Core i7 w 32GB RAM and an AMD R9 4GB and 500GB fusion drive, as well as a brand new 15” MacBook Pro with 3.1GHZ Intel i7, 16GB RAM, Radeon Pro 560 w/ 4096 MB and 1TB SSD.
- I did the best to reproduce all of these tests using the exact same G-Tech and SanDisk 1TB SSD TB3 drives with the exact same data and timing it w/ a timer on the same builds of software.
- Needless to say people have been building monster PCs with liquid cooling etc – but I have been resisting that other pain point. These custom built-machines are an entirely different experience and level of user and no doubt would do better on footage such as the RED 8K footage for example that require extremely intense graphics card and CPU usage. Of note: Apple has made several statements that they are committed to the PRO Market … I don’t think this is their last PRO machine…
- Until this machine is officially released, I don’t know the exact price point – I will update that as soon as it’s available.
In these tests I used: Final Cut Pro X, Adobe Premiere, Adobe Media Encoder, DaVinci Resolve, Insta360 Stitcher, BlackMagic Speed Test and Adobe Lightroom Classic.
I could go on an on about my thoughts on the machine but I think it’s time to cut to the chase and give you the empirical NUMERICAL results:
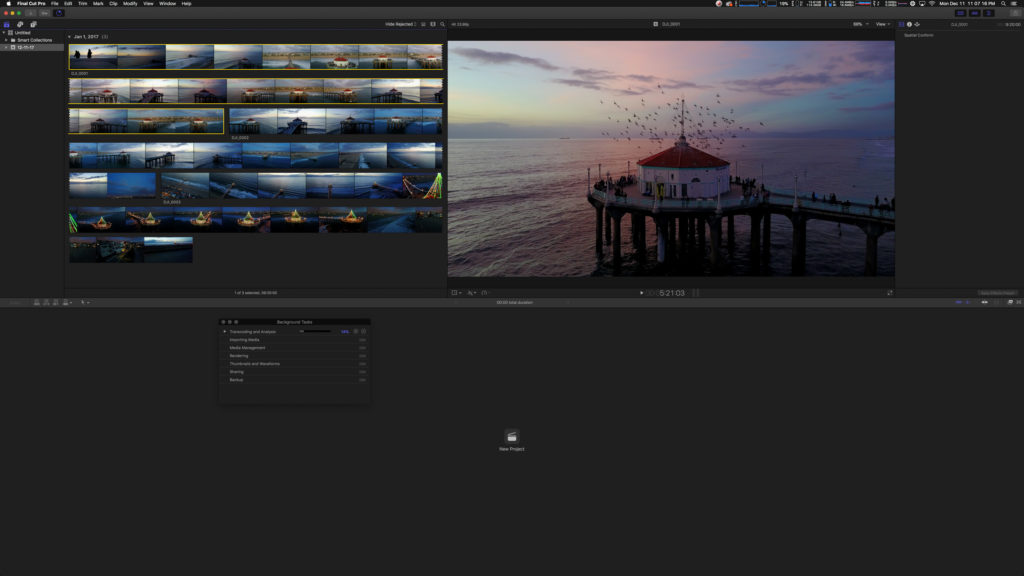
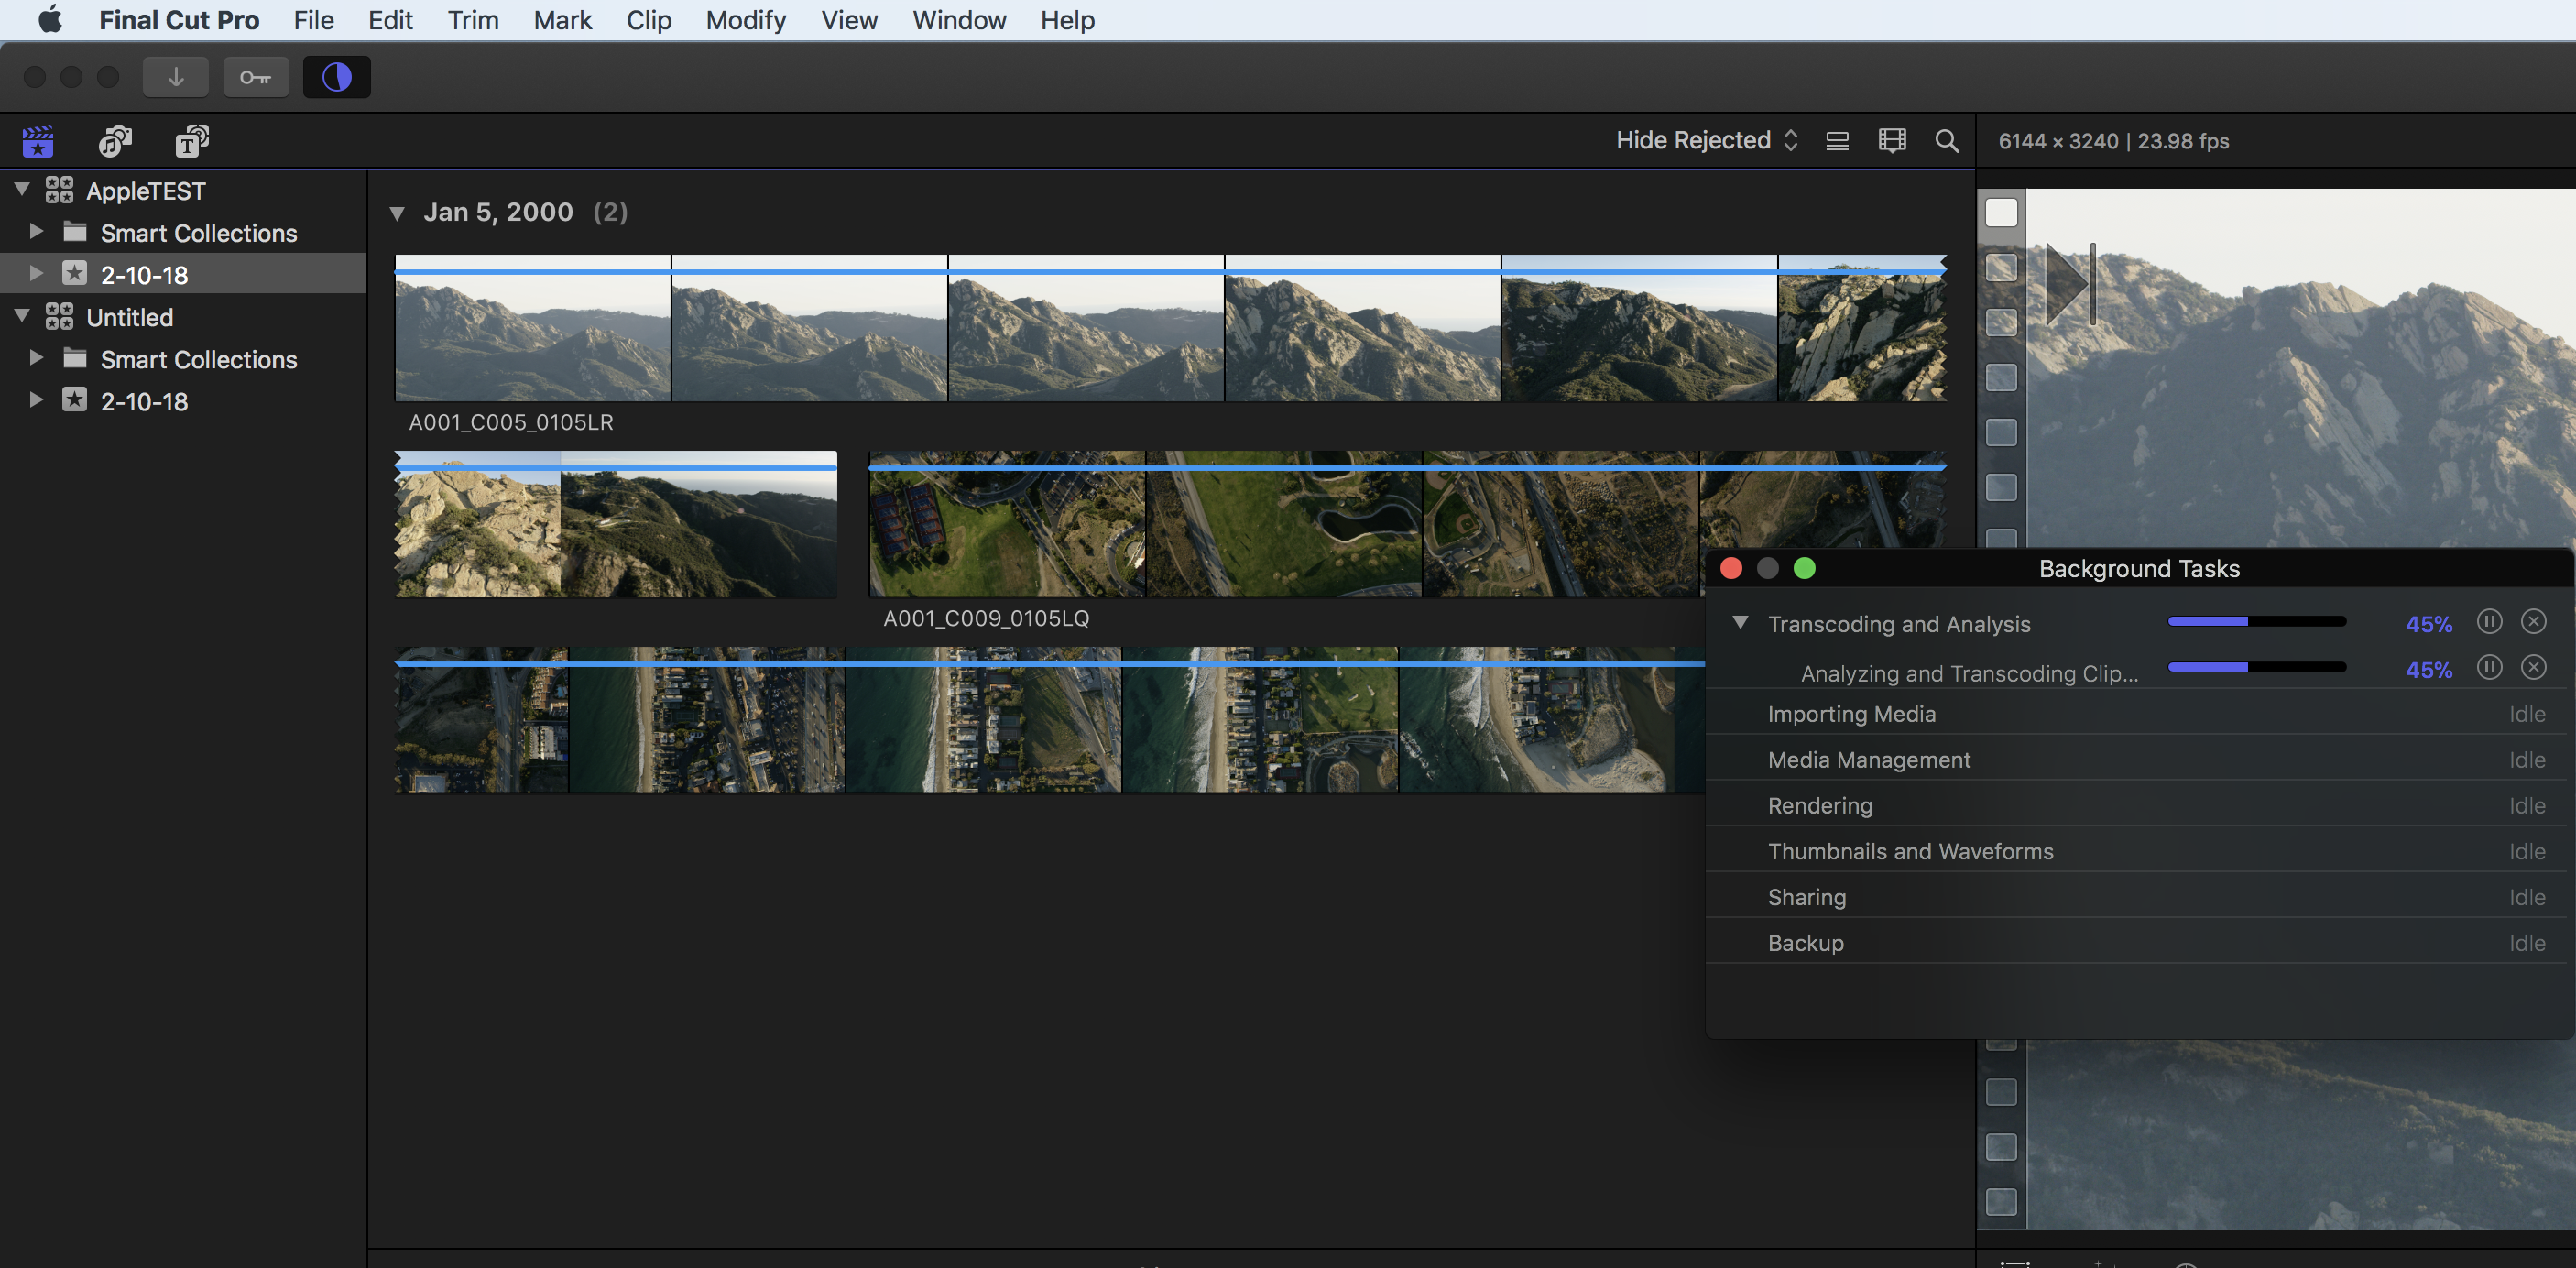
Final Cut Pro X:
I imported 10.96 GB of DJI Mavic PRO 4K, H.264, 23.98 fps footage, a total duration of 24 minutes 16 seconds of footage transcoded to Proxy ProRes422.
All 3 machines created low resolution Proxy footage in under 8 minutes which was impressive.
I then had the software render ProRes422 Optimized media from the H.264 source media:
iMac Pro – 7minutes 56 seconds
iMac – 15 minutes 47 seconds
MacBookPro 15” – 19 minutes 55 seconds
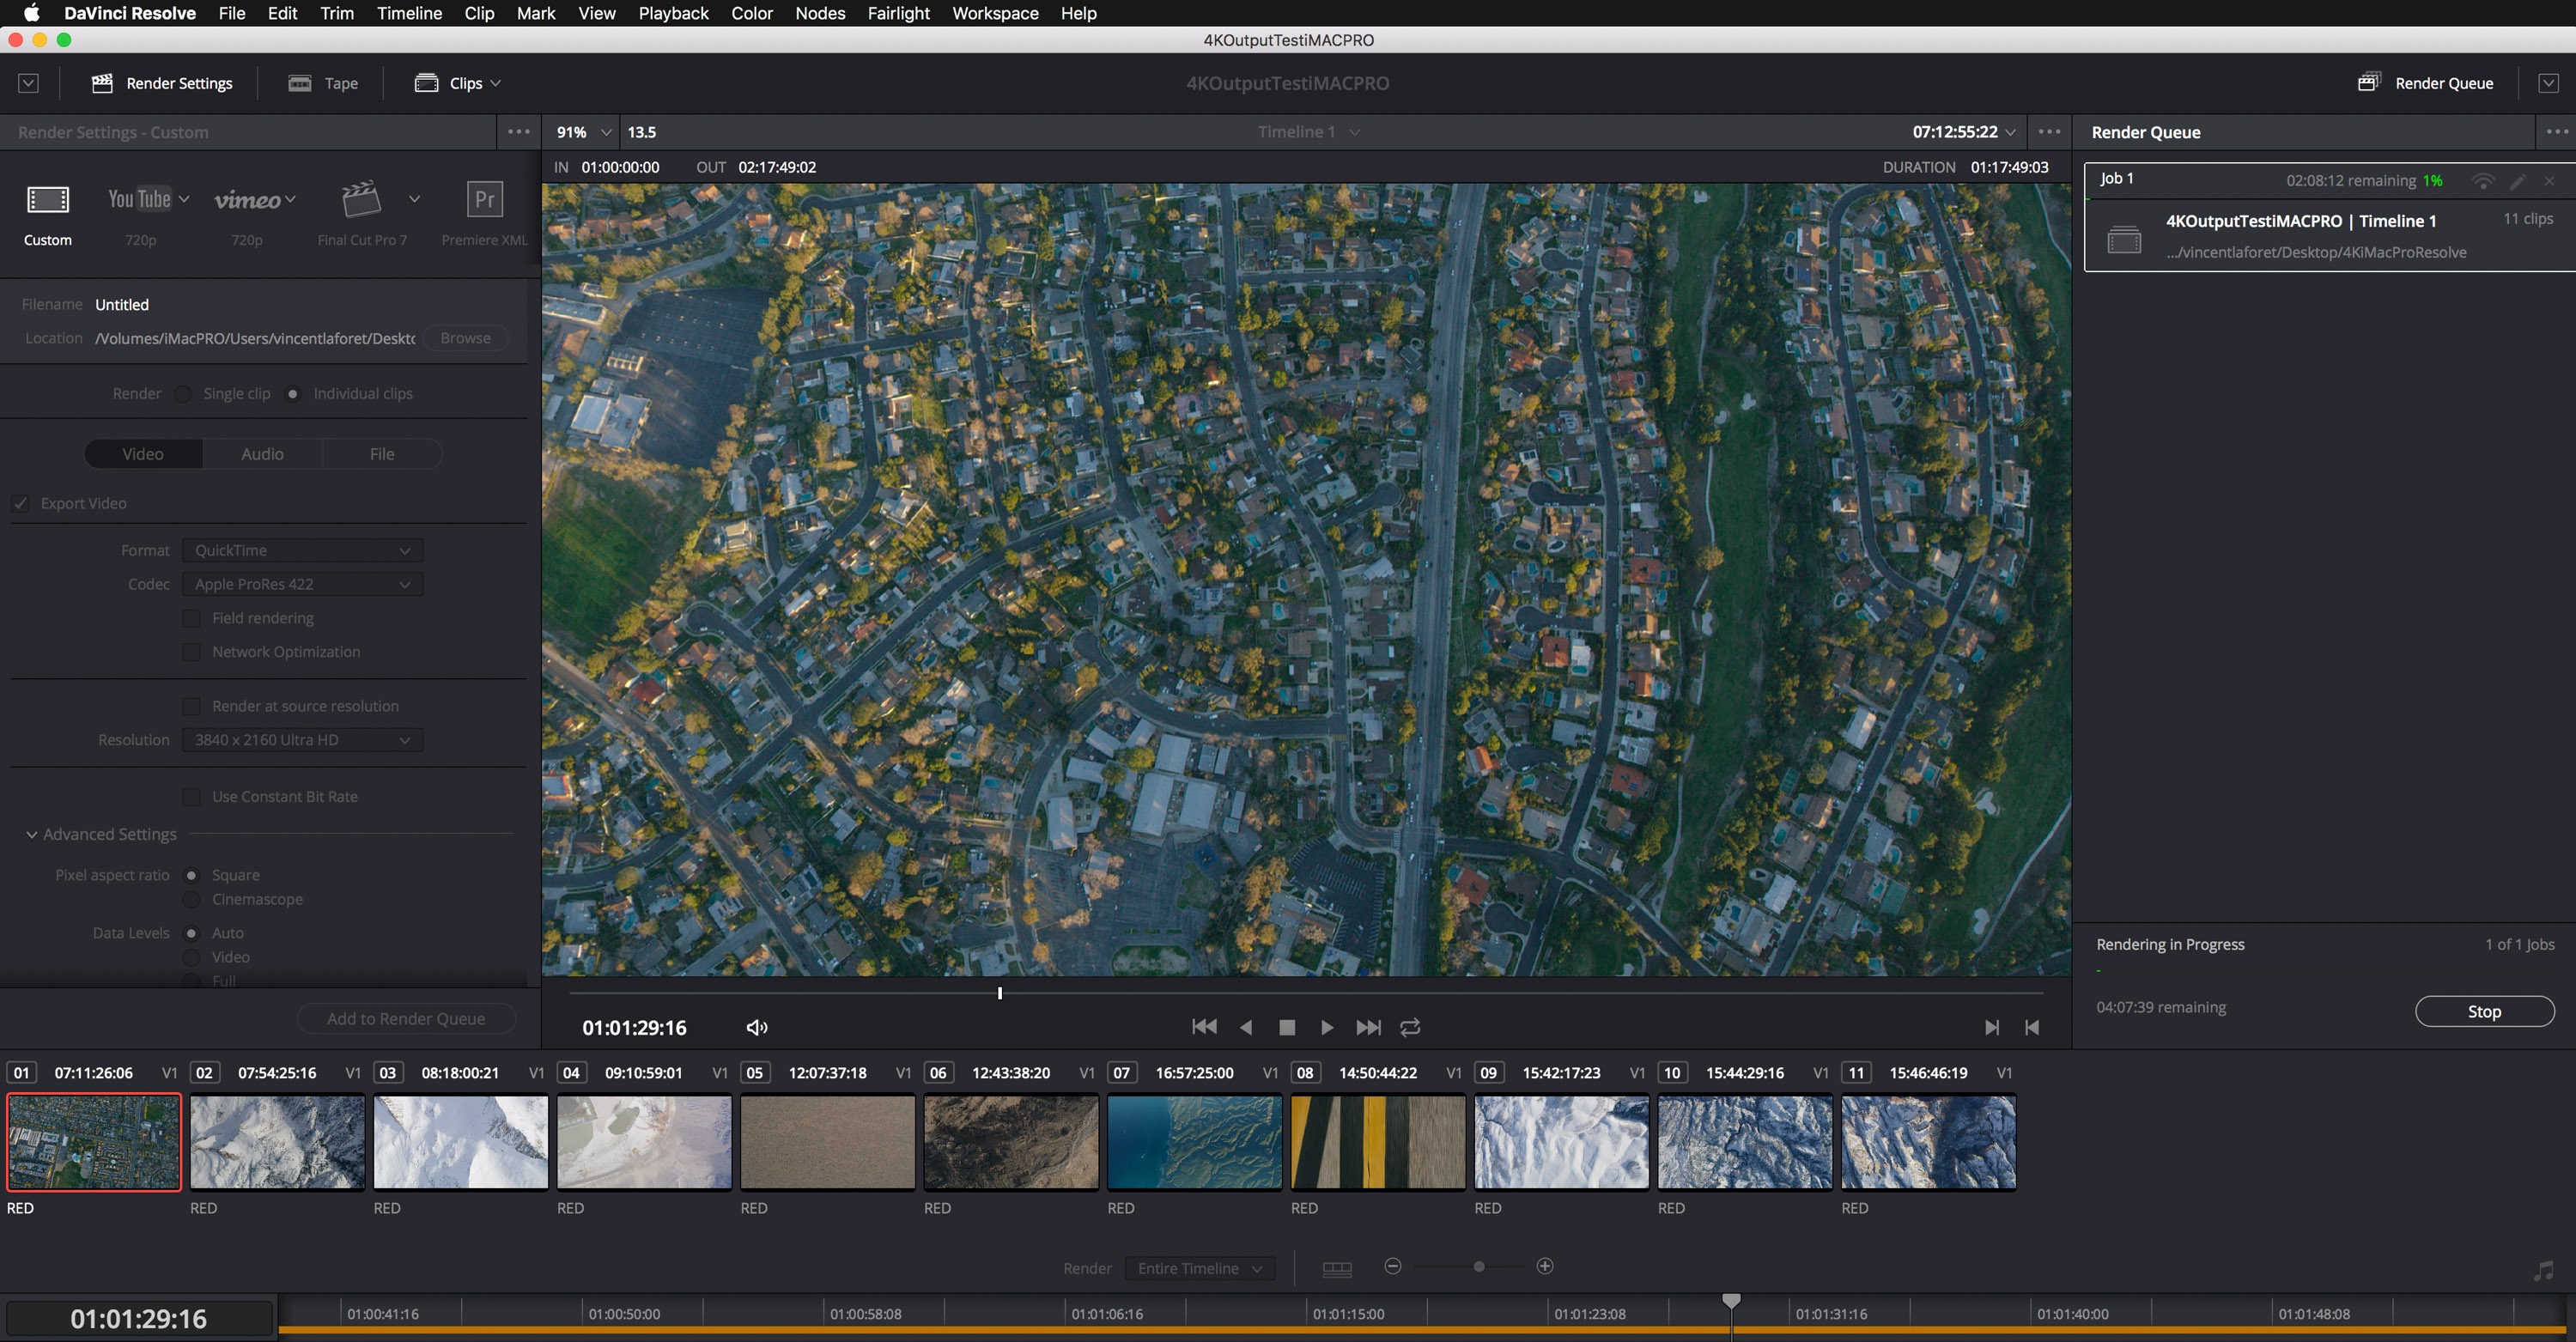
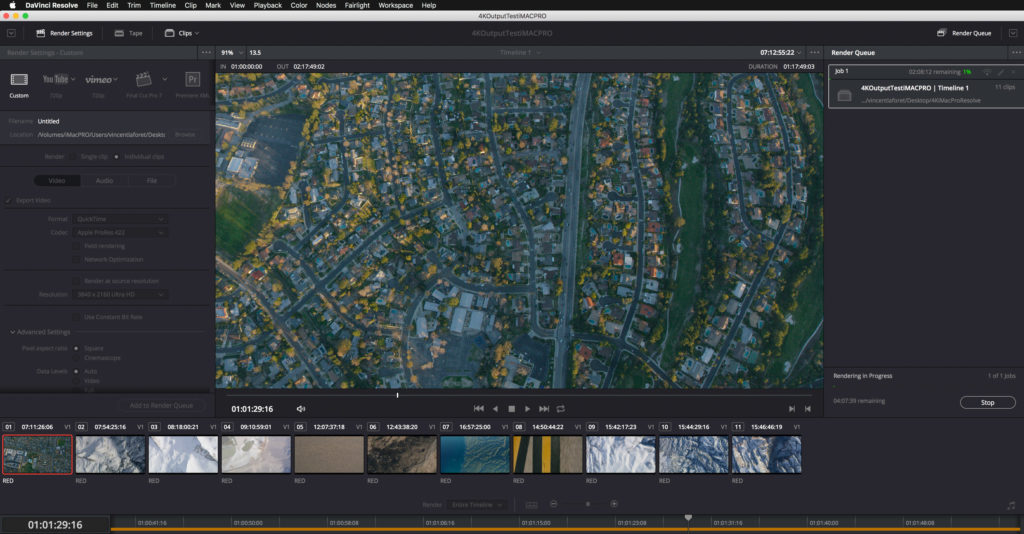 Black Magic Resolve:
In Black Magic’s DaVinci Resolve, I imported 1 hour and 17 minutes of RED 8K Helium Full Frame footage shot at 60 fps and exported it to 4K ProRes 422 footage, here are the resulting export times:
iMac Pro – 2 hours 6 minutes
iMac – 7 hours 15 minutes
MacBookPro 15” – 6 hours 5 min.
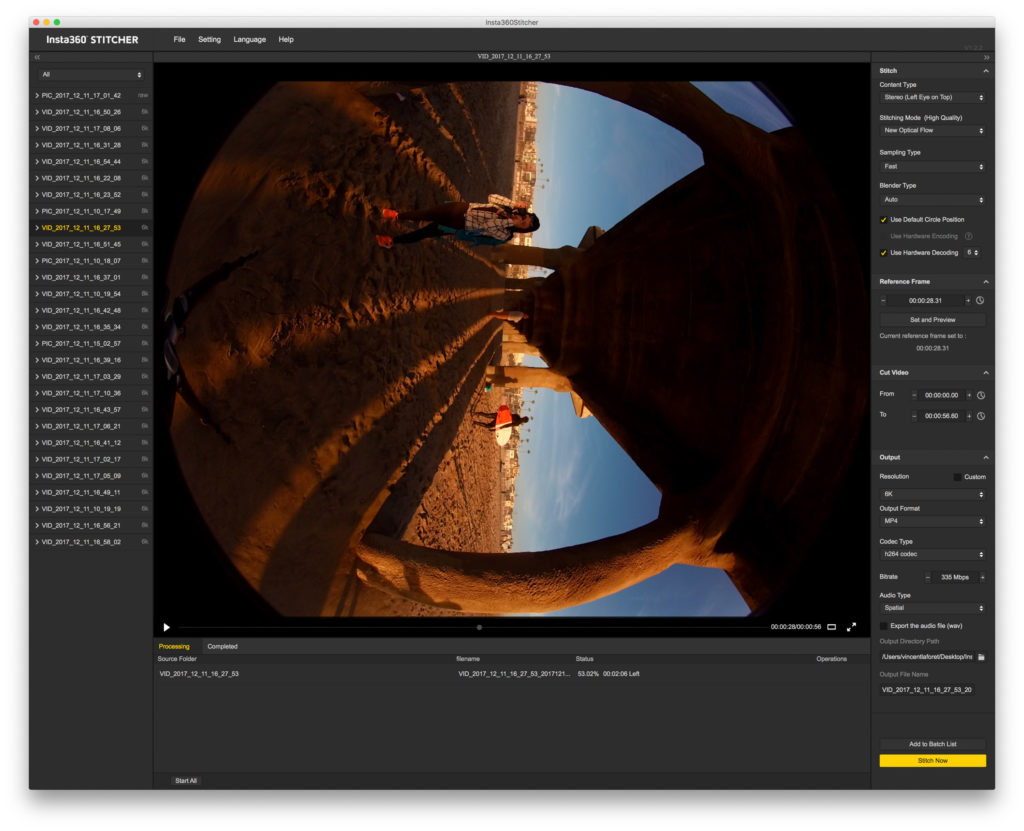 Insta360 3D VR:
I processed 6K Stereo (3D) VR Insta360 PRO footage through their Insta360 Stitcher software, a 56 second clip, here were the export / processing times:
iMacPRO – 5 minutes 55 seconds
iMac – 11 minutes 09 seconds
MacBookPro 15” – 32 minutes
 Adobe Lightroom Classic
I imported 788 still CR2 (RAW) Canon 5DsR 50 Megapixel images or 50.74GB of images and then…
I had LR build 1:1 Previews
iMac Pro – 25 minutes 26 seconds
iMac – 50 minutes 45 seconds
MacBookPro 15” – 46 minutes 40 seconds
I applied a look (color correction in the Develop module) and Exported 788 JPEG files at full resolution or 14.79 GB of JPEGs averaging 9 MB each
iMac Pro -31 Minutes
iMac – 1 hour 17 Minutes
MacBookPro 15” – 1 hour 4 minutes
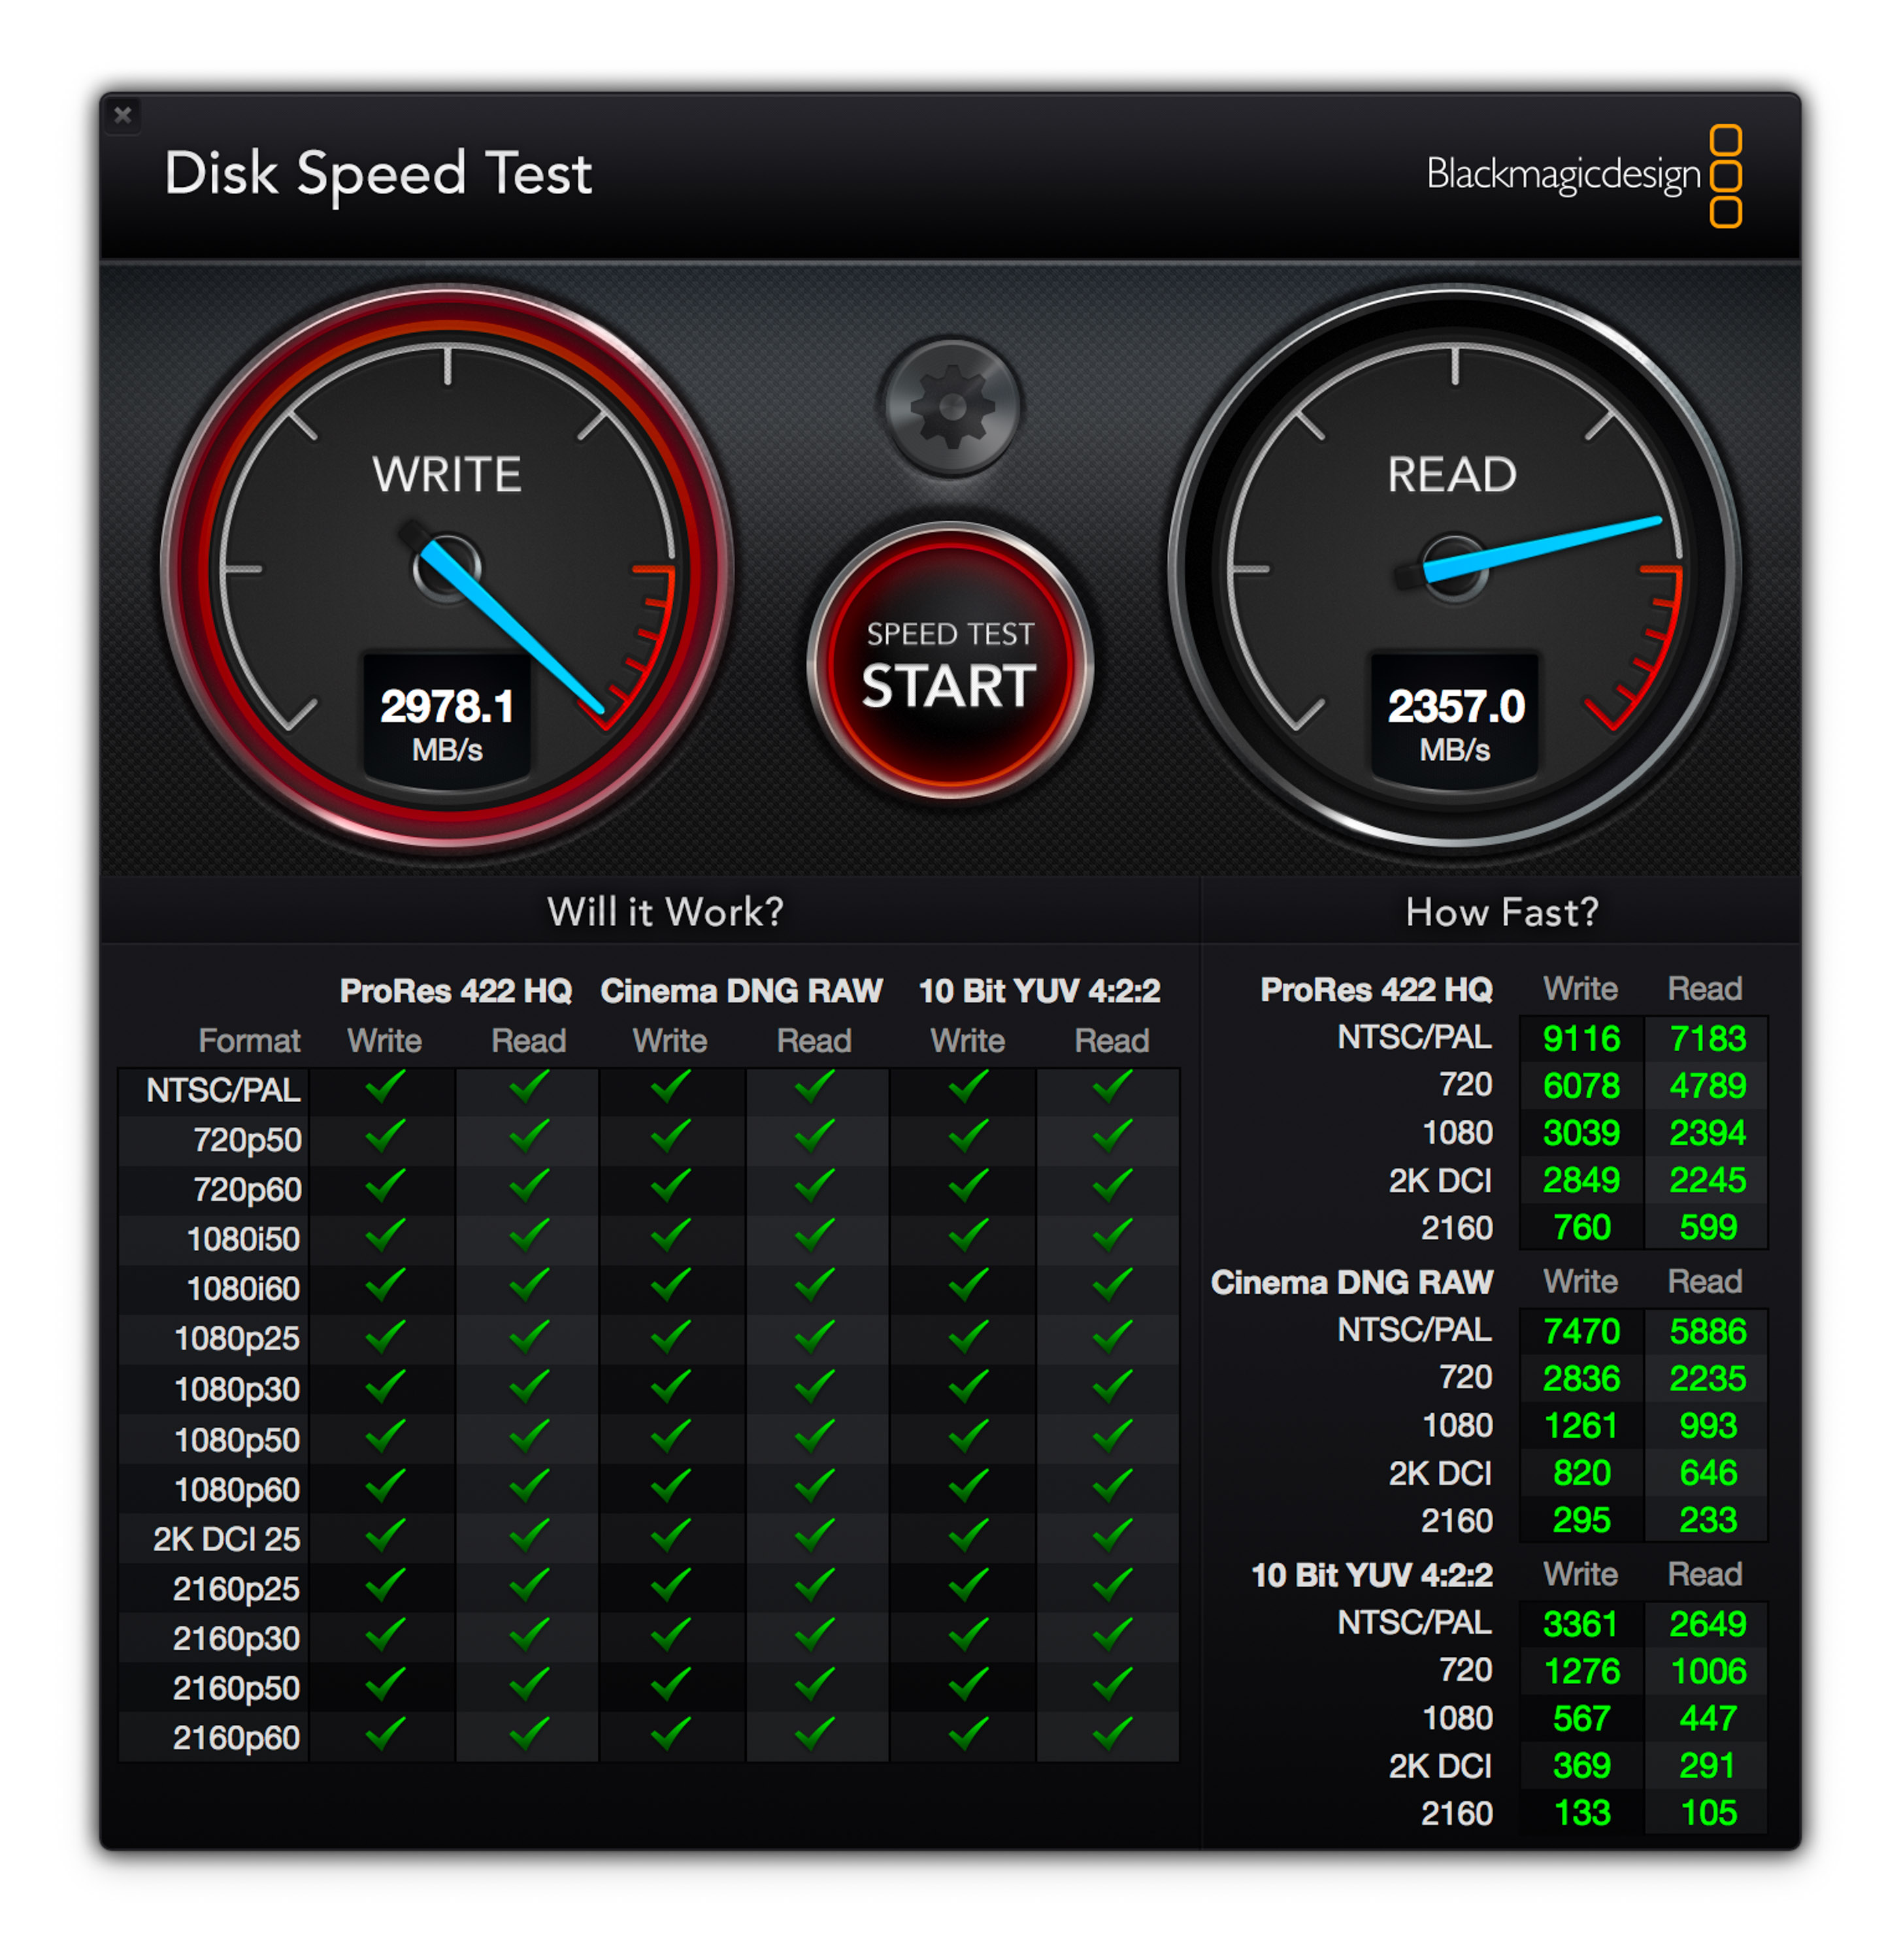
 Black Magic Speed Test:
I ran Black Magic’s software to test the speed of all 3 internal drives and found the following average speeds:
iMac Pro – Write 2996MB/s / Read – 2450 MB/s (2TB SSD)
iMac – Write 664MB/s / Read – 720 MB/s (500GB Fusion Drive)
MacBookPro 15” – Write 1743 MB/s / Read – 1400 MB/s (1TB SSD)
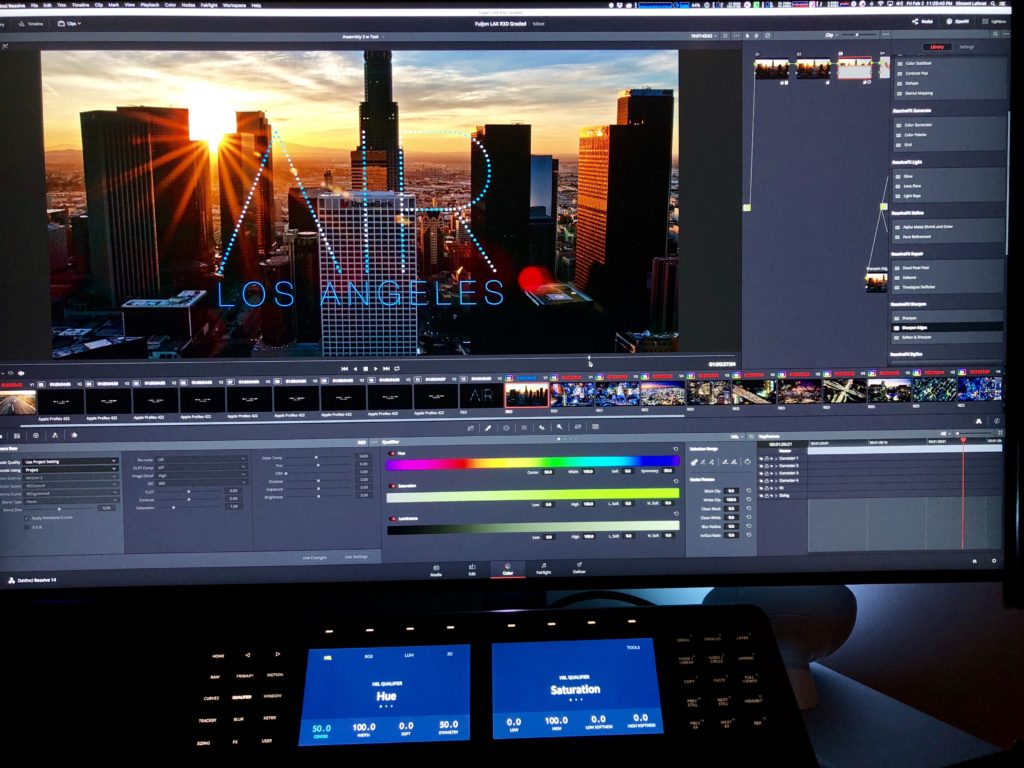
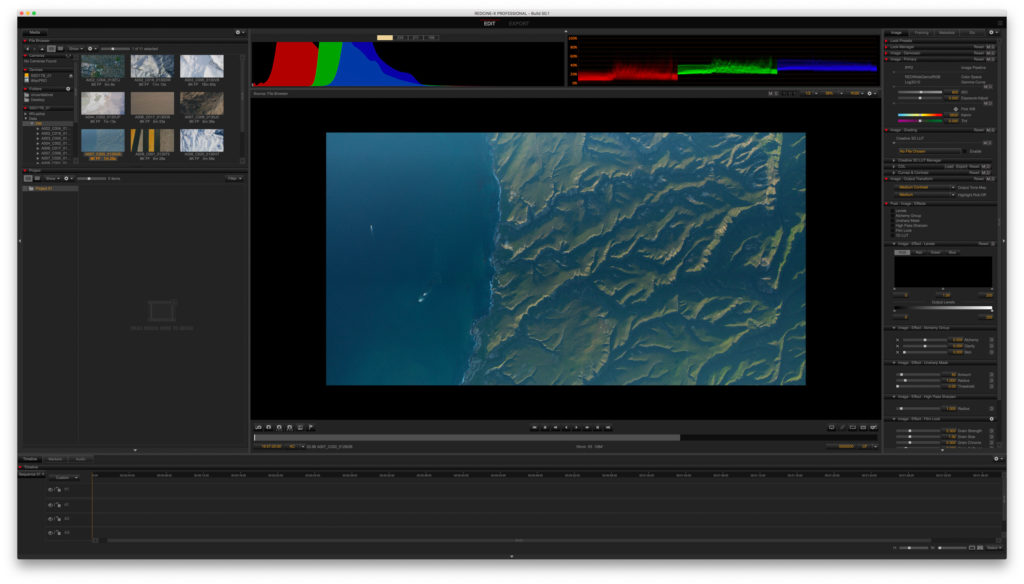 RED Cine-X:
I used RED’s conversion Cine-X Software to test playback with a RED (RAW) 8K, Full frame, 4 minute 1 second file (59.68GB) at 60 fps:
At 1/2 resolution I could play back (before hitting memory / CPU & GPU limits)
iMac Pro – 14 seconds of smooth playback before buffering (if I let the computer process and render the file, it was able to render the file using the 128GB of memory and 10 cores in minutes and and playback in full screen 75% of the 60 fps clip.)
iMac – 4 seconds of smooth playback before buffering
MacBookPro 15” -1 second of smooth playback before buffering
At 1/4 res I found the perfect balance:
iMac Pro – I was able to play the clip back at 1/4 res for a full 4 minutes before buffering – the first time I’ve been able to do that on a Mac at 8K in RED Cine-X – and I could truly judge the movement, sharpness and overall detail of the clip in full screen mode
iMac – 1 minute 25 seconds w stuttering playback before buffering
MacBookPro 15” -8 seconds of smooth playback before buffering
 Adobe Premiere
I had issues w/ High Sierra and couldn’t work reliably with RED footage. However I was able to play the Mavic 4K footage reliably on all 3 machines full screen mode at 1/2 resolution. Both the MacBook Pro 15” and the iMac started to stutter (with any movement in frame or when panning / tilting) when played at Full 4K resolution – noticeably so on the MacBook Pro.) The iMac did well with playback at full resolution, however I couldn’t scrub the footage at all. The iMac Pro was silky smooth at full resolution and scrubbing was nearly flawless.
Overall this is a wonderful machine that will satisfy all users out there – with the exception of the 0.1% of users who work in the 8K RAW RED world for example and want to transcode at 1:1 or faster with purpose-built machines. If you’re shooting 4K or pretty much any still camera available today, this Mac is unlikely to let you down. I know it’s tackled everything I’ve thrown at it and it’s the first machine that can keep up with me in an still edit of thousands of images or hundreds of minutes of video footage.