Shooting with the TS3Cine
The following is a guest post from two members of the LAFORET VISUALS team, Justin Hamilton and Jon Carr:
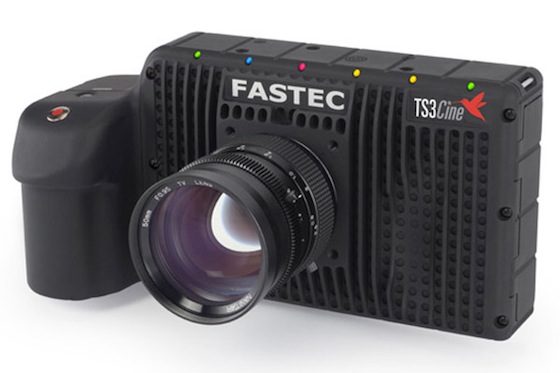
Justin: A few weeks ago Jon and I were fortunate enough to get to play with the TS3Cine from Fastec Imaging, compliments of Michael Sutton (@MNS1974) and Rule Boston Camera. I had been looking forward to getting my hands on this camera, as I have a huge interest in high speed cinematography, and the form factor of the camera was highly appealing – as its similar to a DSLR (though a bit bigger), and allows for the same run and gun style of shooting. The camera shoots 718 fps at 1280×720 resolution, which isn’t going to let you shoot for features, but it is more than enough for web, and is still adequate for broadcast television (many channels still broadcast in 720p). Still, the TS3 Cine can produce a really nice image as it has the option to shoot DNG RAW, which gives you great room for color correction (Jon discusses this in greater detail below).
Given that we would need a lot of light to shoot something hi-speed, we decided to test the camera outdoors. We called up our friend, Mauricio, who is an action sports shooter and has relationships with all of the skaters at the Venice Beach Skate Plaza – so skaters became our subject-matter. It’s common with skate shooting to use wide angle lenses. The TS3Cine model that we had in our possession was a PL mount, and we were able to use PL mount versions of the Zeiss CP.2 lenses. Our widest lens was the 18mm with that set of lens (almost a telephoto by skate standards – many of these shooters use something in the range of 12-14mm, like the Schneider "Death Lens" to make sure they capture the trick and keep everything in focus. The barrel distortion on a ultra-wide also helps to make the motion in tricks look more dynamic). However, the TS3 has a smaller sensor, so there was a 2.4x crop factor contend with, which effectively made our 18mm a 43mm lens. We also brought align the 35mm CP.2 in case we wanted to try something tighter (effective 84mm). We found that we mostly stuck to the 18mm, but the 35mm did come in handy as we started to lose daylight because its a faster lens, with a T/2.1 maximum aperture, compared to the 18mm’s T/3.6 max.
We set out to shoot for three different days from roughly 3:30pm to 6:30pm to capture the best quality of daylight so we could attempt to pull off some p. Now, the TS3Cine has a very large 7" LCD screen built into the back of it, but in direct sunlight, it is somewhat difficult to see, so we mounted a Zacuto EVF to the top of the camera so we could see what we were shooting a little better. This was helpful for framing up our shots, but the camera does not output the display signals out of the HDMI port – so we were unable to see the waveform monitor on the EVF. Focus also continued to be a challenge due to the small screen size, so we really relied on the focus marks and measuring our distance to the subject (old school).
The focal length we were working with was also a challenge for focus, so we started our first day by shooting most of our shots statically. Naturally we worried about capturing things in focus at an effective length of 42mm because when you buzz focus in slow motion, it stays out of focus just that much longer. By the day’s end however, we weren’t thrilled with our shots, as they just didn’t feel dynamic enough without camera movement. So on day two we gave the camera to Mauricio to operate. He’s a skater, so he was able to ride his board alongside the skaters or toward them as we shot. To deal with focus we worked with the skaters to pick points on the bowl or ramp where they would do their trick, and then measured focus to that point, and pre-set the lens to be focused there. We also cranked the ISO on the camera to 800 (it can go to 1600, but we decided to not max it out) and stopped down the lens as much as possible. The only variable was Mauricio’s timing, but fortunately he was spot on.
In the end, we came away with some good shots, mostly thanks to the skill of the skater we were working with. The lesson learned for us was that camera motion is just as important in hi-speed as it is at normal frame rates. A static camera is a boring camera. Don’t get me wrong there is a place for locked-off shots in filmmaking, but movement really brings things to life. This is where the TS3Cine excels. Because it is so small and light it’s easy to add movement to your shots, just with movement on skateboard or with your arms. Keep in mind that when shooting hi-speed you have to move the camera quickly so that the movement registers when played back.
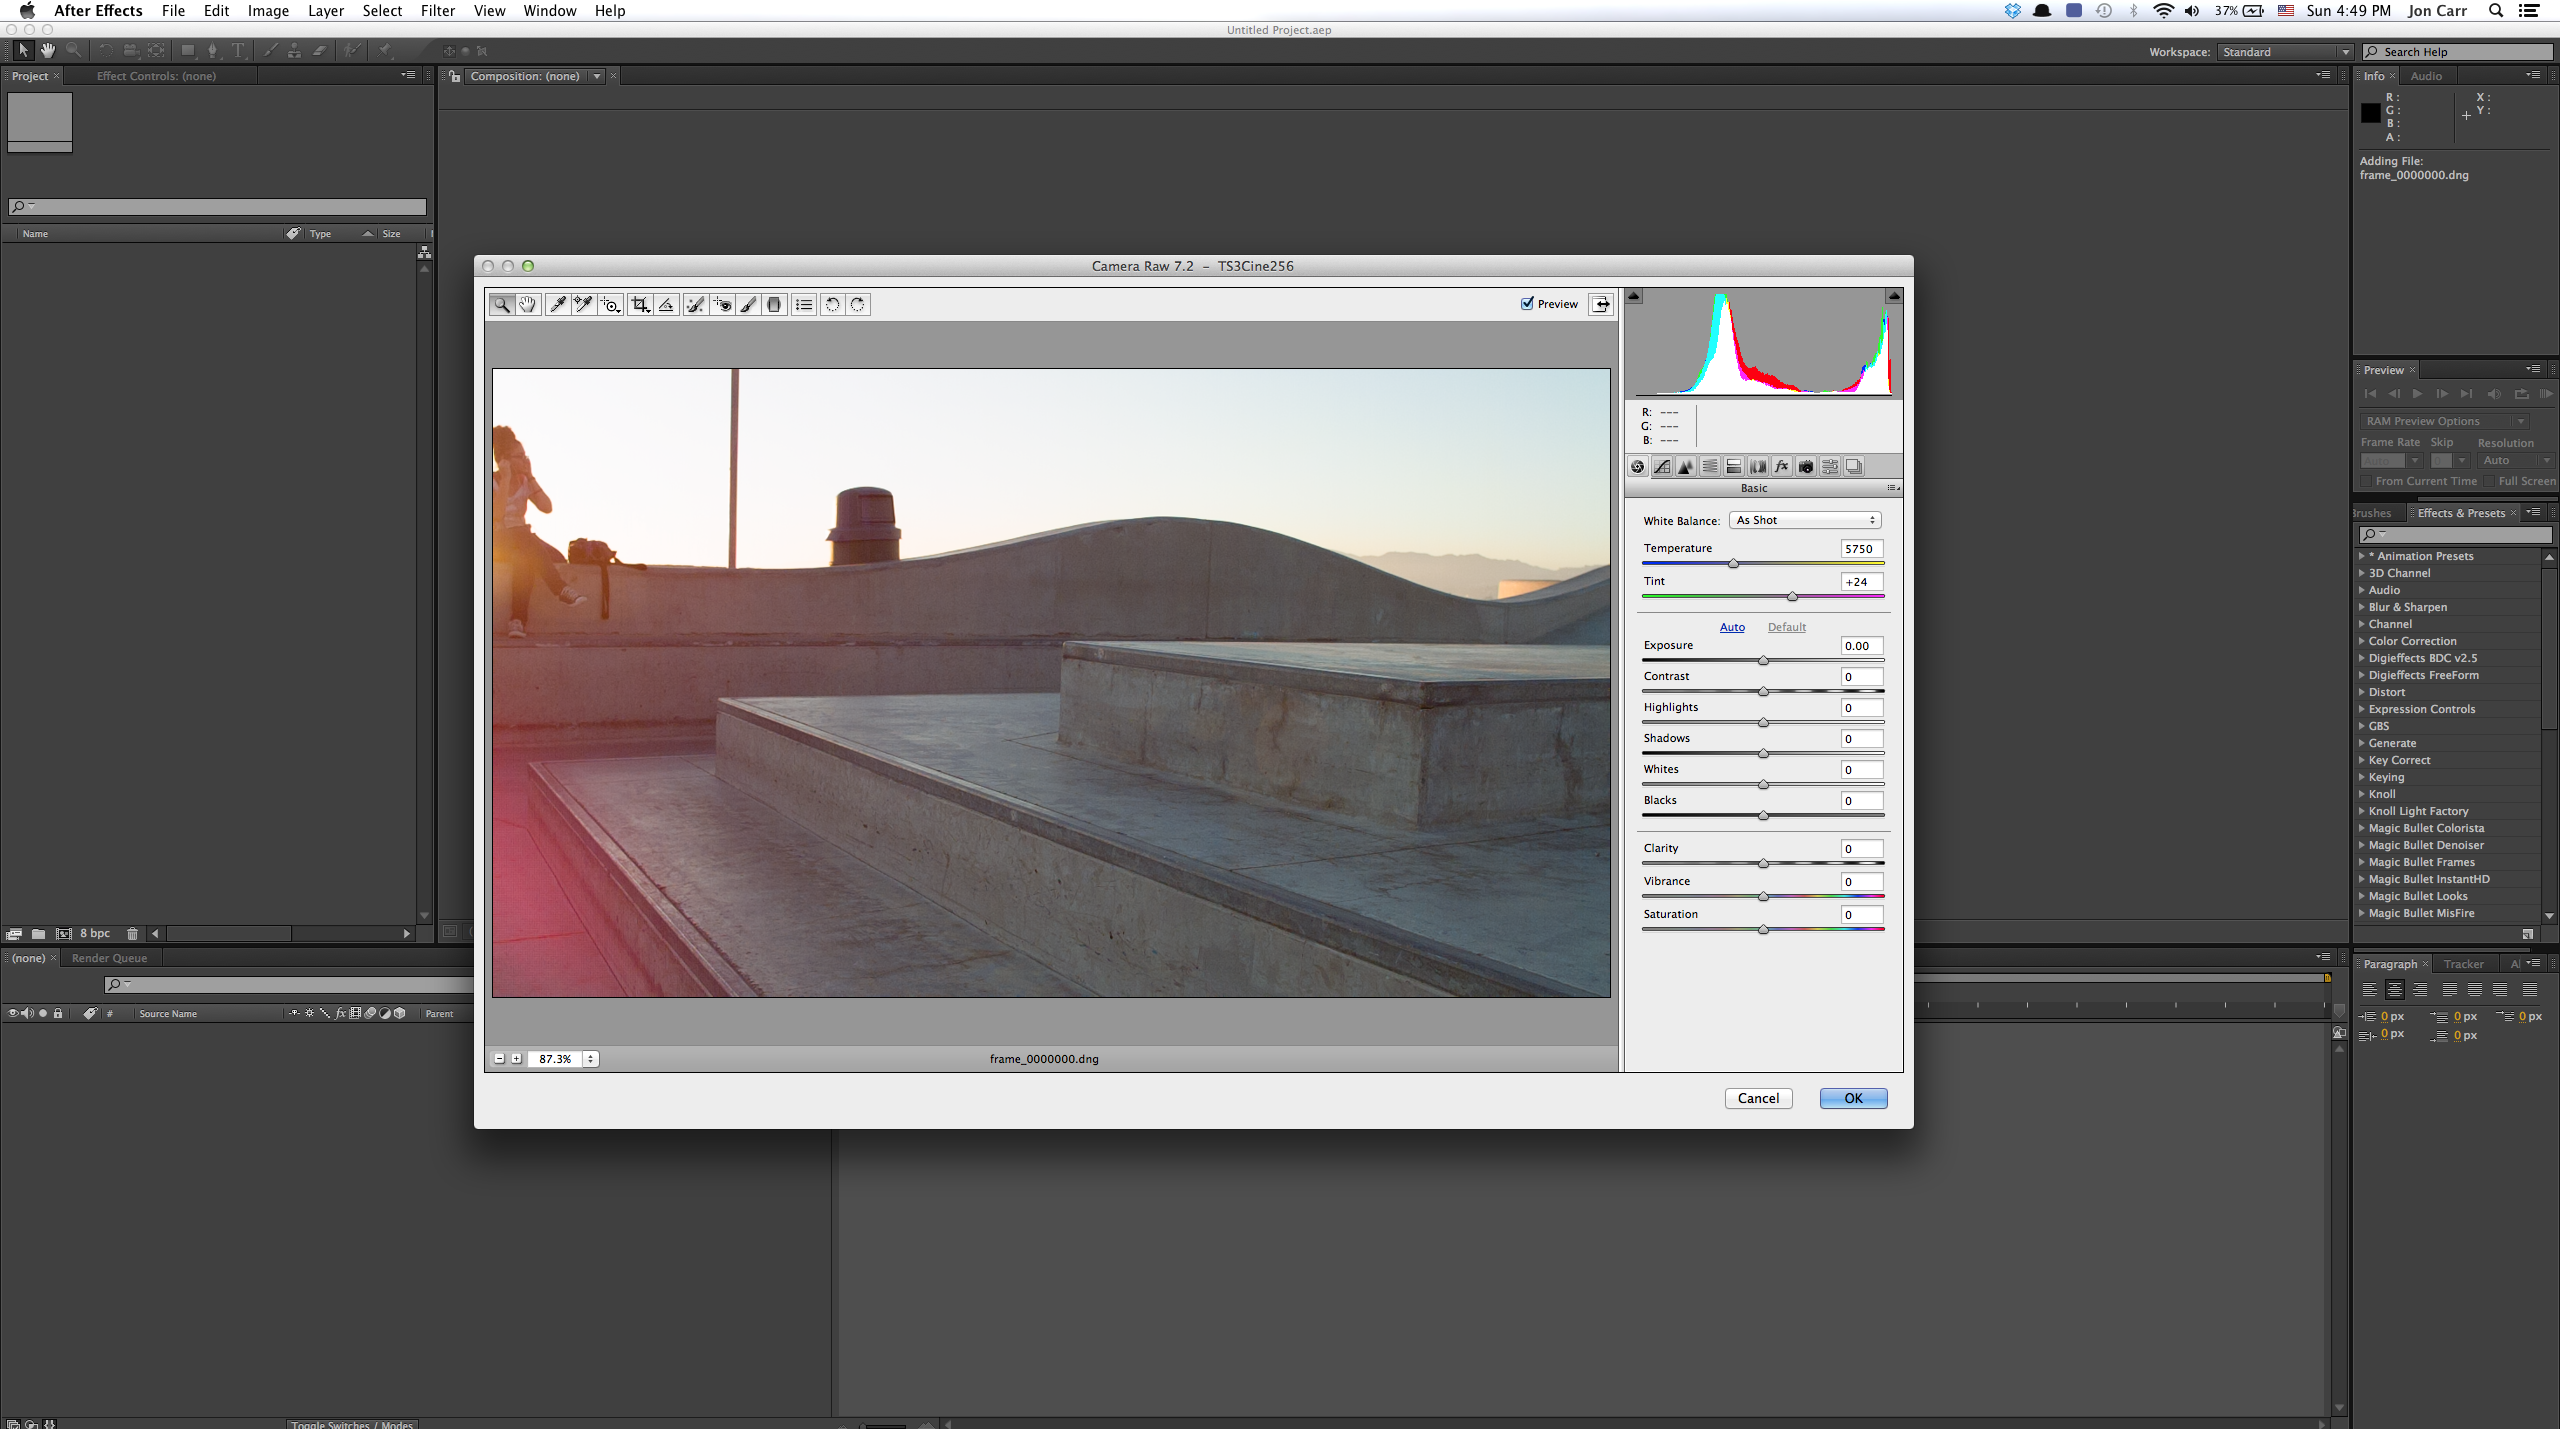
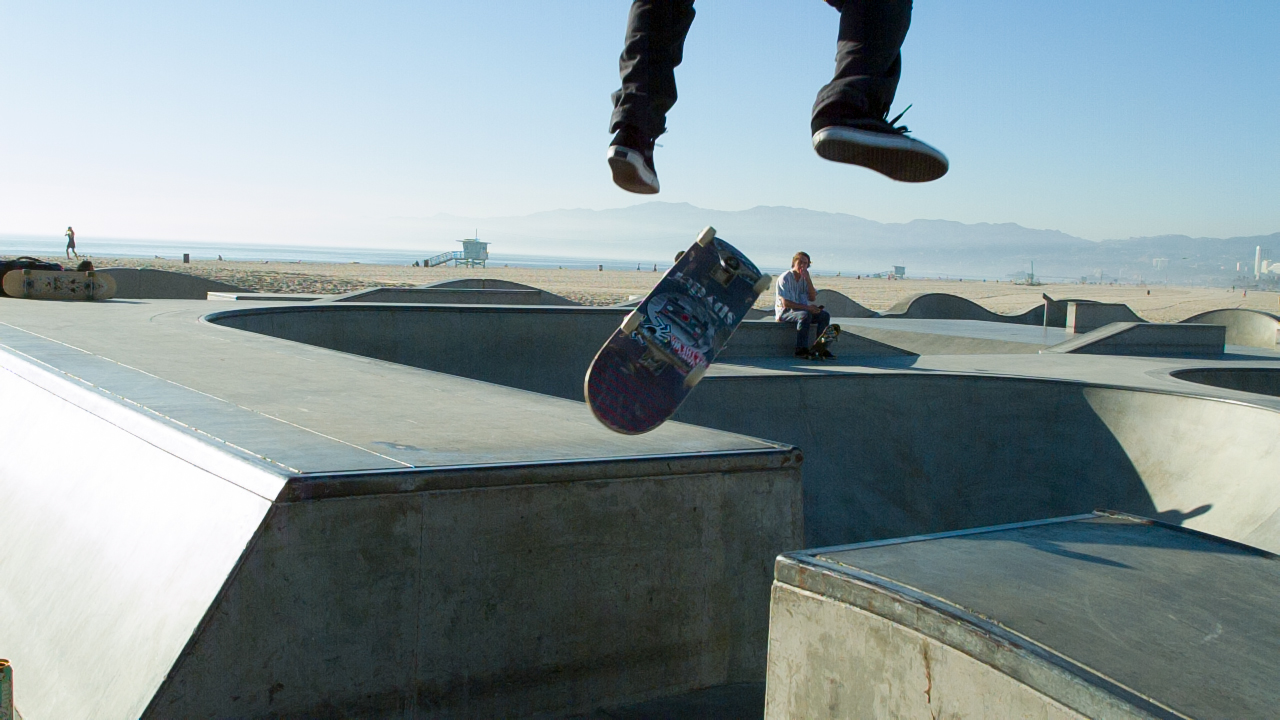
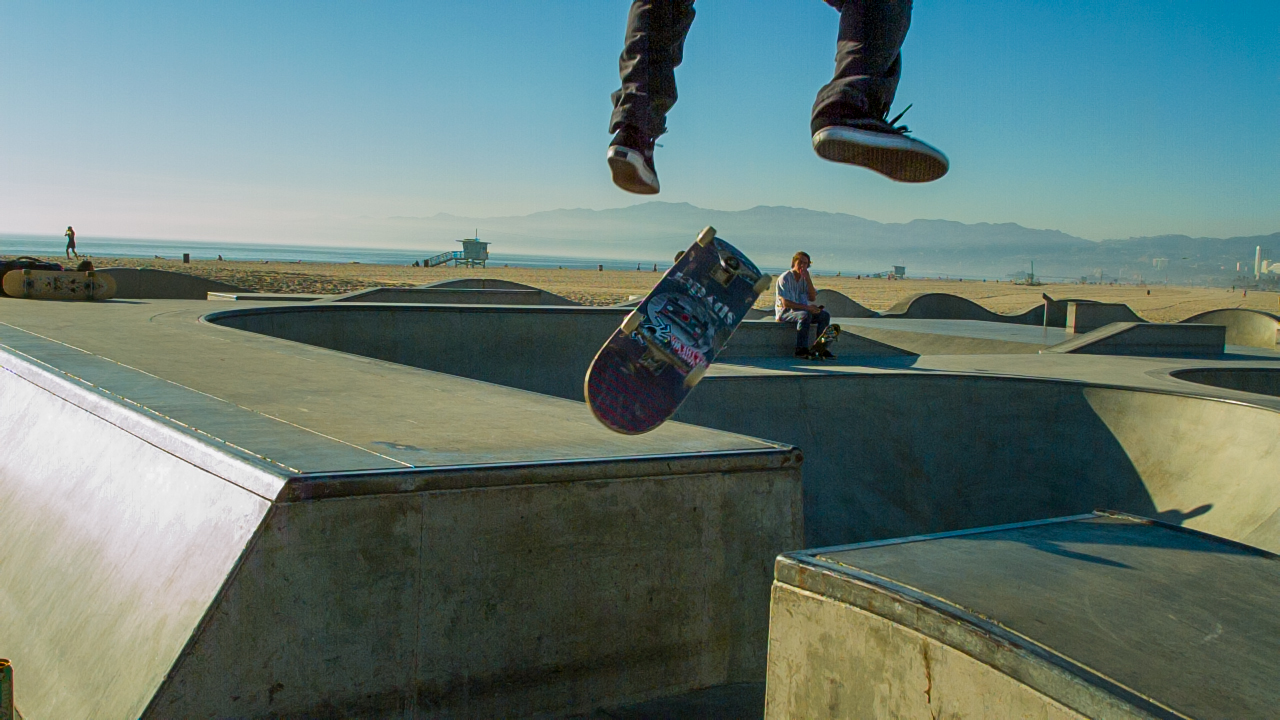
Jon: One of the things I like about the TS3Cine is that you have the ability to shoot a RAW DNG image sequences much like the Blackmagic Cinema Camera. This gives you tremendous ability to adjust exposure settings in post production. While the monitor of the TS3Cine is very large, it can be difficult to see in direct sunlight and during our run and gun shoot, so some of our shots where not properly exposed. The RAW image is much more forgiving and I was able to pull down highlights or pull up shadows to achieve proper exposures. This luxury wouldn’t be possible if we shot to the.AVI codec within the TS3Cine.
(Click for FULL SIZE)








looks very nice but a lot of distracting alaising in the fine details (like the trees and the edges of the park), does that come from the Vimeo scaling or in the camera?
Wow!!! Keeps getting smaller and smaller. Faster and faster!!!! Nice!
Justin and Jon, if you could be so kind as to post the complete clips of a few of the jumps (e.g. the guy at 0:15 starting to do an ollie), my 10-year-old son would appreciate it very much. He’s been struggling with an ollie, and high-quality slow-motion footage such as yours, of a successful execution from start to finish, would be most helpful. 🙂
Jon Carr Reply:
November 14th, 2012 at 7:03 am
Jeffery, send me an email at joncarrpro@gmail.com and I can get you a clip.
A little bit of both. It looks better at full resolution but you do see it especially in those trees. It would have been nice to play around with additional lenses to see if that made a difference but we only had access to CP2’s with a PL mount.
Same question as Neil.
Impressive tech, maybe a decent partner for my Scarlet or future BMCC 🙂
@Jon Carr, for a $23,000 camera the alaising is a bit disappointing, but the super slo-mo looks really good.
Something for the christmas stocking???
We actually used this exact same camera from Rule Boston this past summer! Crazy. It was used to shoot some power tools in a garage setting for Lowes.com. The one knock I had on this camera was our end result ended up with a good bit of noise, even with a well lit set. Not being versed with the camera, we couldn’t really figure out how to adjust ISO settings. The menu and recording is a bit strange, you have to save each clip before you move onto the next, or it will not be written to the internal drive. I like how it’s handheld and is ready to get into any situation, but the noise factor and the recording format would be my 2 main knocks on this camera.
Just got to play with the TS3 cine here is the music video we made: http://www.youtube.com/watch?v=T27BwNWGkIA&feature=share&list=UUeokJBO1CE6qXpNn7tz7RbA
Mostly just fun but kinda cool
Hi Vincent,
I am not a pro by any means, but would shell out the money for one of these just to dominate with my YouTube channel.
What do you think of the Canadian Megaspeed cameras? http://www.megaspeed.ca
Terrible website, and not as sexy looking, but the X4 and X7 are much cheaper and similarly spec’d. Various reviews have quoted them to be half the price of the TS3.
Trade show videos have stated that they have only shipped sever hundred. That, along with their merger web presence, I would be a little concerned.
Do you know anybody using TS3Cine in weddings?
I would like to exchange experiences 🙂
hello jon , can you tell me what is price of this camera ?