Blackmagic Camera Part Deux: BMCC & Workflow
A Week With The BMC from Jon Carr on Vimeo.
UPDATE: Here is a link to the 1080p Version of Jon’s cut on Vimeo.
It goes without saying that whenever you ask someone for their opinion, you should know who they are, and where they are coming from when you consider their response. This applies to still portfolio and film reviews, as well as gear advice. A photojournalist should probably never ask a commercial photographer for gear advice, just as a documentary filmmaker should avoid asking a tentpole film director for advice on how to shoot a doc on the cheap… These aren’t golden rules of course – and I am a firm believer that all rules are meant to be broken. But this "rule" ultimately applies to ALL camera reviews as well.
Which brings us back to the Black Magic Cinema Camera and this, a follow up post. A little over a week ago I published my first impression of the BMCC – an article that stirred up a tremendous amount of interest, traffic, and comments.
I still stand by that post and my initial impressions. I think this camera produces one of the most beautiful raw images out there – one of the top 5-6 sensors in the world perhaps – which I think is a HUGE compliment that many missed.
I love the elegant simplicity of the design. Yet in practical terms I still think people will have to put a bit of money into accessorizing a camera for even basic handheld use, and of course they will have to buy all of the bells and whistles we all do with ANY cinema camera (rods, baseplate, handles, batteries etc etc.) for production use (people seem to have missed the distinction between those two uses that I was trying to make: with a few minor tweaks, this camera could have been used out of the box by some, for specific uses.)
The choice of the relatively small sensor was also something that I wasn’t thrilled about – mostly because of the lack of EF-mount lenses available (something a lot of people missed, or misunderstood.) Some said that 16mm/Super 16mm had been around for awhile and that I like so many had fallen in love with the Vista-Vision-sized 5D MKII sensor – and I had to remind them in the post’s comments section that it was the lack of available lenses with an EF mount that made the sensor size an issue for me. Then, Black Magic Design announced that a passive micro four thirds mount would be available by December, a little over a week after I and a few others published our reviews.
That of course changes things… It opens up the BMCC to use Canon, Nikon, PL, and M series lenses and more – with a variety of adapters.
In an age where a new camera seems to come out every month (it used to be ever few months, before that every year, and before that every 3-5 years!) I have to chuckle on how quickly the announcement came from Black Magic – even before the initial EF mount version had been made available to the public! These are interesting times – and good ones: for filmmakers. For manufacturers: scary. Unless you are in the business of making camera accessories of course..
In the end – I have to confirm what many of you have stated: I have the chance to work with the RED Epic, the Canon C300, the Arri Alexa and just about the majority of current cameras out there. Therefore I have a bit of a different opinion of the BMCC camera that some others will – and I think that should be expected. And that was the point I was trying to make in the first sentence of this post.
There is one point that I will admit that I failed to emphasize enough in the initial blog post: you will find no other camera in this price range ($3,000) that produces an image that looks anywhere like this one – especially when it comes to dynamic range and sharpness.
Another thing that I could NOT ignore was how excited my colleague Jon Carr was when the review camera was set to be delivered. Even though he has access to my RED Epic package at the office, and Canon packages – he was truly excited about owning the BMCC camera. Therefore I promised to let him borrow the camera after I had a chance to spend a week with it. And I think that he more than confirmed what I have been seeing with my own eyes during my own tests: the BMCC’s digital sensor and RAW image is simply stellar.
And for that reason – I asked him to write a guest post on the blog and here it is :
(p.s. if you’d like to see more guest blog posts from Jon or other people on the blog’s team, do let us know in the comments section – he has already been a key player in the making of many of the videos in the behind many of the tutorials and BTS series we’ve done on the blog.)
From Jon Carr:
I have worked with Vincent Laforet for the past year and a half. Over that time I have been involved in many projects including co-writing and co-producing Möbius as well as producing and editing MotoArt.
I wouldn’t consider myself a DP. I work in the world of postproduction as an editor, visual effects artist, and producer. I shot this video to determine a viable postproduction workflow to handle the raw CinemaDNG files produced by the Blackmagic camera and thought it would be a good idea to share what I discovered for those interested in learning more about the camera.
Blackmagic was kind enough to send Vincent a camera, and after his initial review he let me take it out for a spin.
I think Vincent was very accurate and thorough in his review. I believe the BMC is going to dramatically impact the camera industry. We now have an affordable option that allows the masses to shoot RAW video and competing camera manufacturers will be forced to respond.
Much has been made of the small sensor, internal battery, and unique design but my focus will be on post. The one thing I will say is kudos to Blackmagic for providing a solution to those looking to shoot wide angle with their IBC announcement of the BMC MFT (Micro Four Thirds). I love the innovation considering their initial camera is in the infancy stage of the launch.
So why shoot RAW? Let’s talk about stills and utilizing a program like Adobe Lightroom. I have taken photos shot on the lowest resolution cameras and made them look fantastic in Lightroom. The challenge is you can only go so far with a compressed image. The real power of a program like Lightroom happens when you snap a RAW photograph with your DSLR. You have the ability to push these RAW photos in vastly different directions based on your creative needs. Lightroom is using the RAW data to give you more control to change things like white balance and exposure. You can push exposure up to see details within shadows. You can pull exposure down to see clouds in an overexposed sky. The image has a lot of flex and won’t break as easily with harsh color distortions and gradations that you often get when pushing a compressed image like a JPEG. The exciting thing is we can now do this at an affordable level with video.
My first option for processing the RAW video files was to use Da Vinci Resolve (which is conveniently bundled with the camera). Resolve is currently the only way to handle these RAW files natively so think of it as Lightroom on steroids. You can’t drop a BMC CinemaDNG clip into Adobe Premiere and start editing. It needs to be converted to a friendlier editing codec like ProRes or DNxHD. This is where Resolve comes in. To put things in perspective, when Vincent first got his Epic, I edited the short highlight reel #308. This was very early in the product cycle of the Epic and people were just figuring things out. It took us nearly six days to export the 45-second clip as we struggled to work natively with the R3D files. Just over a year later I was able to cut MotoArt with 5K R3D’s within Adobe Premiere Pro CS6 with ease. Technology and workflows evolve and things will get better.
It is easy to import the RAW files into Resolve, do a quick color adjustment and export to a more edit friendly codec. The challenge with Resolve is it is heavily reliant on your video card, the more modern and beefier the better. At Vincent’s office we use a system equipped with an Nvidia 4800 graphics card. It works well but there are more modern alternatives. The cool thing is that you can enable several Nvidia graphics cards to work with a Mac Pro and Adobe CS6 Production Premium and Resolve. Here is a great blog article by Ryan Walters to get you up to speed. Nvidia just announced the Quadro 5000 and I am sure Resolve will scream with that card. The challenge for me is primarily working off an older Mac Book Pro at home and while Resolve works with most files, it doesn’t like the BMC RAW files on my system. I can’t even view them within Resolve due to my older graphics card. You may say, "Why not get a new system?" My response is, "let me know when Apple has a Thunderbolt enabled Mac Pro tower" but that is for another post.
Vincent has told me that he is able to play back and render BMC files at an average 14 fps on a top of the line MacBookPro Retina Mac with SSD & 16GB of RAM – it took him one hour to output 30 minutes of footage via Resolve as an example. Even on that machine – grading is sluggish given the wonderful amount of detail in the RAW BMC files.
Da Vinci Resolve is an incredible value. With version 9, Blackmagic streamlined the interface and made the experience much more approachable. You will need a powerful graphics card to get the most out of this software. If you are interested in learning more, I recommend the tutorials from fxphd taught by Warren Eagles.
My second option is After Effects. When I import the files as an image sequence the Adobe RAW Dialogue box pops up and in a Lightroom like fashion, you can tweak the exposure of the clip to utilize the full range from the RAW to make your images pop. I use this workflow when rendering RAW time lapse videos from stills. My challenge with this workflow is that on my system, it takes about an hour and a half to render out a 30-second 2.5K clip to ProRes. This is certainly not practical in a professional setting. This very same clip would take a few minutes if I had a proper graphics card to export from Resolve. This will evolve and we will have more options within our favorite NLE’s shortly. The majority of shots on the video were rendered out of After Effects.
Most manufacturers are pushing 4K+ and I believe RAW video is also part of the future. Many of us who shoot stills with DSLR’s can’t imagine going back to shooting JPEG images because of the flexibility the RAW image gives you. In a few years we will think the same thing in terms of video especially as workflows evolve and hardware improves. It is important to become familiar and comfortable with RAW video now especially since it is so accessible with the BMC. It is challenging but I promise you won’t be disappointed when you begin to create incredible imagery with this versatle format.
Follow Jon Carr on twitter at @jon_carr
or visit www.joncarrpro.com
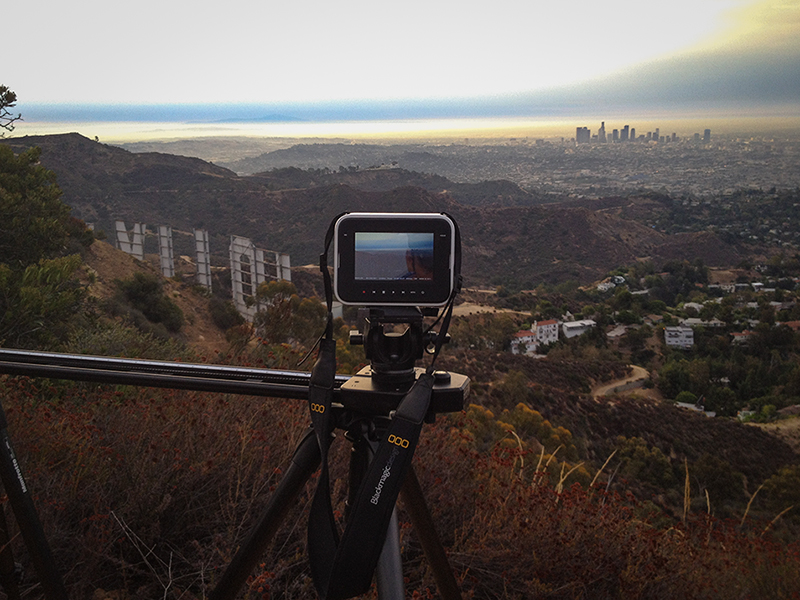
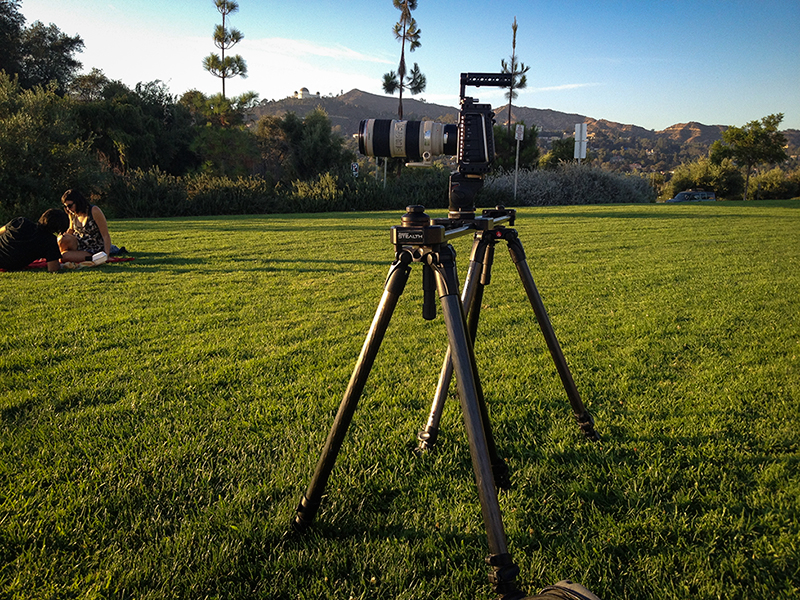
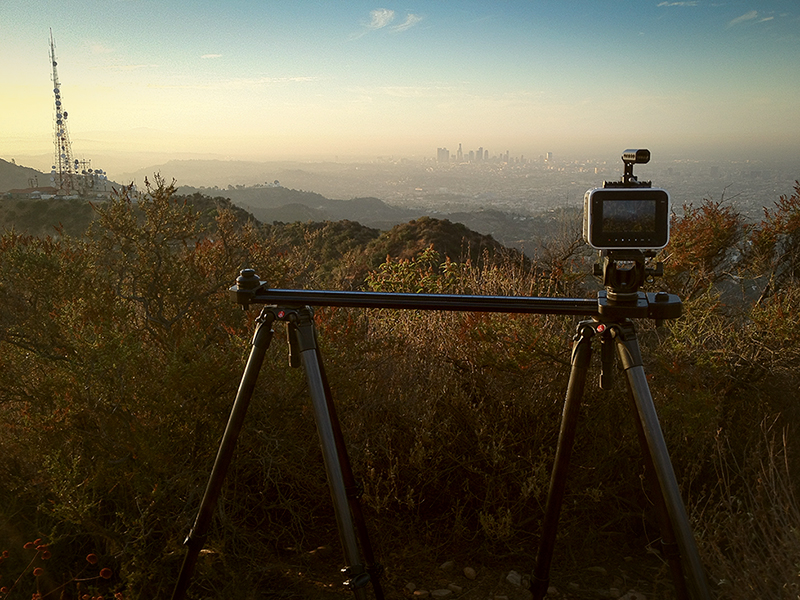
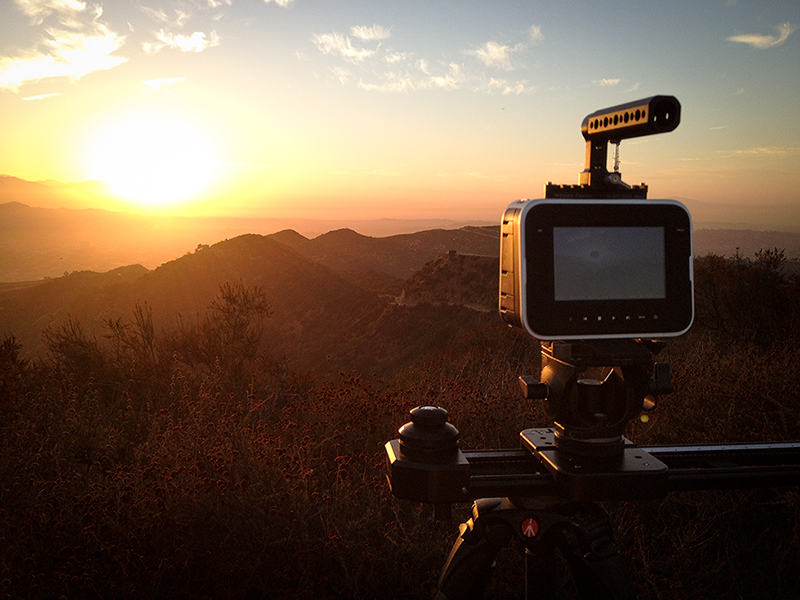
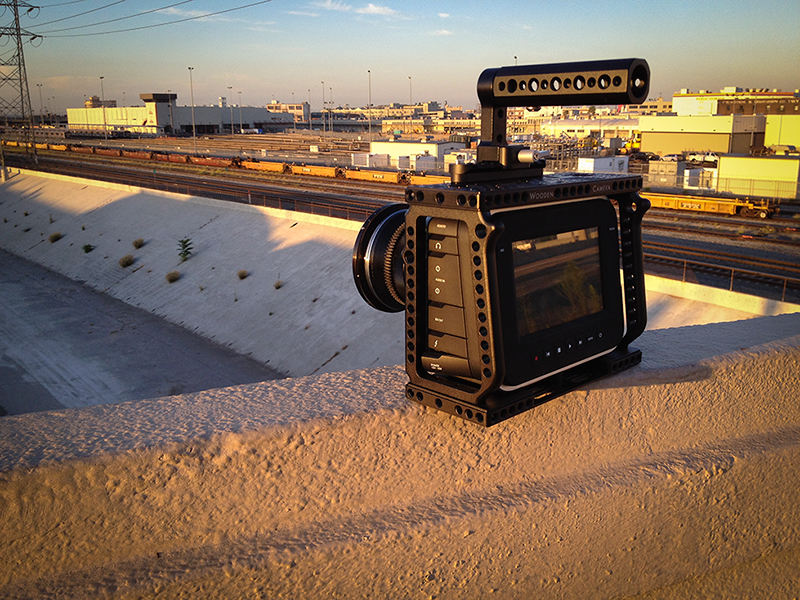
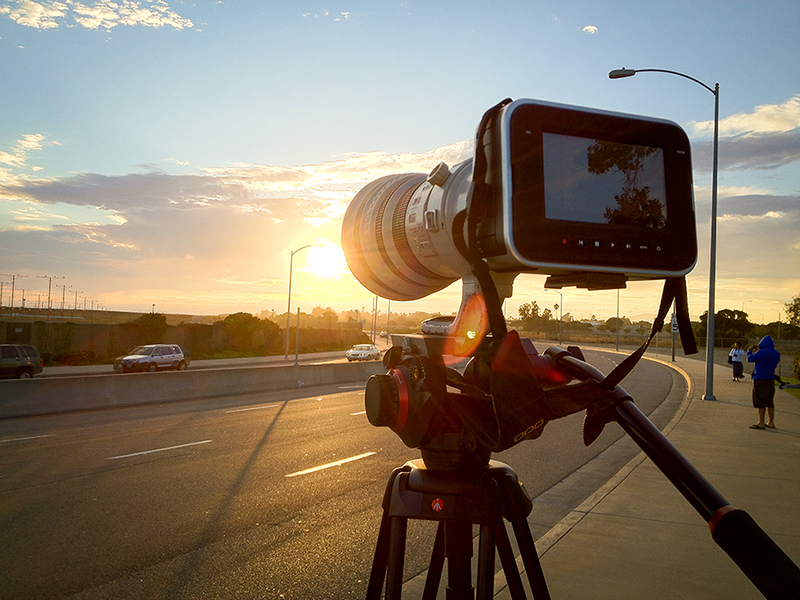
On a final note I want to give a shout out to the guys over at Blackmagic who have been great in answering my many questions. Ryan from Wooden Camera sent over their brand new BMC rig. It was incredibly helpful to mount an external battery to extend the power of the internal battery and make the camera much more functional. This will be a necessity for professional jobs. Finally, I’ve got to send a little love to the Kessler team. I used the Stealth slider which was ideal for some of the epic hikes I took to get to my remote locations. The Stealth is surprisingly lightweight! The Zeiss Distagon 18mm f3.5 ZE lens was quickly my new best friend. With the cameras 2.4 crop factor, the Zeiss lens becomes a 43mm equivalent lens and that is what I captured the vast majority of my shots on. It would have been nice to be a little wider at times but I made the most of it. Finally,the Scneider 77mm True-Match Vari-ND was extremely helpful in controlling exposure especially when shooting directly into the sun.








Happythankyoumoreplease.
Best blog post slash review thingy i have yet read in regards to the bmc (and ive read a lot!).
hi Jon,
thanks looks good it is only 720p ???
is it possible to put 1080p online ???
is it possible to see the raw footage ???
is it possible to download some raw footage ???
Thanks Chris.
Just looking at BMC_Sunset. Is the sun completely blacked out? I’ve been a bit worried about this… as I saw a similar issue with some other BMCC footage. How bad is it? Will this appear every time you shoot directly into the sun?
Vincent Laforet Reply:
September 11th, 2012 at 12:56 pm
I have seen the same dark spots on the sun when you overexpose the chip… this was initially a problem on the 5D MKII but Canon was able to fix it w/ firmware rather quickly – and I believe BM can do the same here.
Lovely work Jon. You may not consider yourself a DP but this work is of higher quality than 90% of the stuff I see by folks claiming to be a DP these days. Hard to find such modesty on the interwebs. Respect.
Thanks for a very detailed and thoughtful review!
@Stefan van Jaarsveld, I think what you see in that picture is the zebra for the overexposed center of the sun. I wasn’t able to hold the center of the sun and keep the dark hills from clipping to black. I tried to find a medium and sacrificed the extreme highlights. It wasn’t really a problem for the most part.
Just FYI, for following this product specifically, with a continuing community of samples/news/discussion, there is a User Group at:
http://vimeo.com/groups/blackmagic
http://facebook.com/BMCCusers
http://twitter.com/BMCCusers
Thank you Vincent and Jon for taking the time from your busy schedules to share these insights with honesty and humility.
I was considering canceling my BMC order, but feel good that I made the right decision to purchase – initially with my gut and now with good solid evidence, thanks to you both. I will be patient as I await its arrival.
Nice sample footage, and great write up. Thanks for the link to my site. I’m glad you found the post helpful. 🙂
Here is a workflow for using the DNG files directly in premiere: http://www.blackmagicuser.net/index.php?/topic/130-basics-importing-cinema-dng-files-into-adobe-premiere-pro-cs6/page__view__findpost__p__355__hl__workflow
@Ryan E. Walters,
Thanks Ryan. Sounds like it is a no go in CS6, which we are on at the office but it will be only a matter of time before Adobe makes this work. Thanks for all the great info!
Beautiful work and really lovely grade too.
jb
@john brawley, Thanks JB. I got really excited when I downloaded your raw frames and started to play with the color. I have enjoyed all the updates along the way with this cameras development on your blog. Thanks for all the info.
Would love to see the underwater footage surface some day : )
Jon
Thanks for the great information.
We’re gearing up to shot a low budget feature film. As far as A cameras go, would you pick the BMC over a Canon 5D III? I know you’re still testing it out. But would just like to get your thoughts.We already own a couple of Canon DSLRs.Thanks.
Vincent Laforet Reply:
September 12th, 2012 at 4:49 pm
If you’re shooting exteriors BMC. Tight interiors and/or low light HDSLR.
@Vincent Laforet, Thanks Vincent. I appreciate the response.
@Jon Carr, That is odd- the tutorial video show it working just fine in CS6, even though the plugin is for CS5.5. I guess it may be a YMMV kind of thing?
@Ryan E. Walters, Hey Ryan, I took a second look and you are right. It does work in CS6 but to me, it doesn’t seem ideal. You are unable to use the full bit depth and playback is a bit of a challenge without a render. I will play around with it and see how it goes. Sounds like it is a little ways off but I am sure Adobe is on it to improve on this quickly.
Regardless, thanks sharing. Looking forward to being able to get these files up an running immediately within the Adobe ecosystem.
Yes, I agree there should be more guest posts to alleviate the burden of running the site on your own as I know you have other obligations and make the site a bit more active like nofilmschool.com.
This is an excellent article, guys. Very informative for me as I’ve been setting up a RAW workflow coming from a RAW stills background as well.
Time to invest in a better graphics card finally 🙂
nice information about the product such a very well explained….
great job jon and vince. some manufacturer will get my money, between the 5d mkiii and bmc but I still am not sure which one.
cont…
also, i am not sure about other filmmakers, it is always exciting to think about these new cameras and the potential they have in my production, but the post production work flow that comes with the camera is a huge part of what camera to buy. reading your post jon, really helps me understand what I would be taking on with the purchase of the bmcc. Keep posting!
Hello Vincent,
I have a top spec’d Mid 2011 iMac (3.4GHz Quad-core i7, 16GB ram…), which is slightly more powerful than the machines listed above, Jon’s older Mac Book Pro & your newer Retina Mac Book Pro. Would you say that I’d been fine as far as handling BMC raw files? Any feedback would be greatly appreciated!
Best,
Hundo
Vincent Laforet Reply:
December 9th, 2012 at 3:01 am
I haven’t used the BMC in awhile to be honest – the point though is that there’s really no alternative such as a RED’s RED Rocket card… I know the CUDA cards can help quite a bit though.
Blackmagic Camera Part Deux: BMCC & Workflow